Hi everyone! Today I’m bringing you two die cut Christmas card ideas. I decided to call the first card I made the Snowflake Card, which is shown in the picture above.
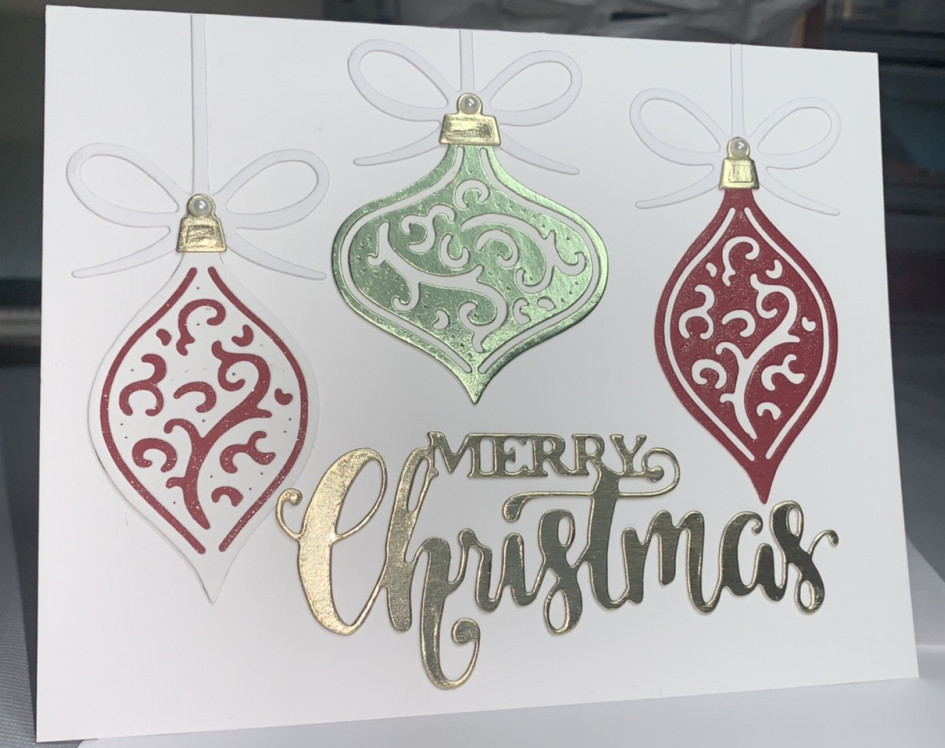
I called the second card that I made the Ornament Card, shown below:
Designing the Snowflake Card
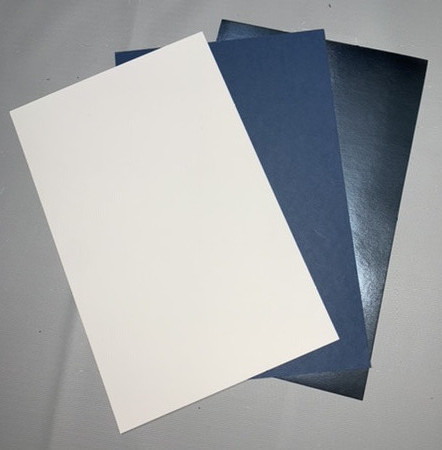
The Snowflake Card was fun to make once I got my momentum going. I was out of the colored cardstock that would have been my first choice (green and red foil) which slowed me down a bit at first. Here are the colors that I chose:
Once I chose my colors, I began making the different card pieces. At the very bottom of this post I’ll list the supplies I used to make both cards. First I cut out the snowflake background pattern using my Sizzix Vintaj Big Kick (very similar to the Sizzix Big Shot) Cutting machine. For those of you new to papercrafting, the Big Kick is a machine that uses the pressure from two large rollers to cut the paper into the shape of the die. A handle moves the cutting machine “sandwich (two cutting plates with the paper and die in between them)” through the two rollers and out the other side.
On a side note, if you aren’t getting a clean die cut after you’ve rolled your paper and die through the cutting machine, I highly recommend getting some sort of metal shim that you put on top of your base platform and underneath your cutting sandwich. I was not getting clean cuts with this die until I used this shim. Most of the major manual cutting machine manufacturers sell some version of this. Here’s a picture of the one I purchased:

Once the snowflake die cutting is done, I weeded out all of the pieces that are “negative space,” which are parts of the paper that the design was just cut out of. This is what the paper looked like after being run through the Big Kick and after I weeded out a few pieces of the cardstock that I no longer needed:
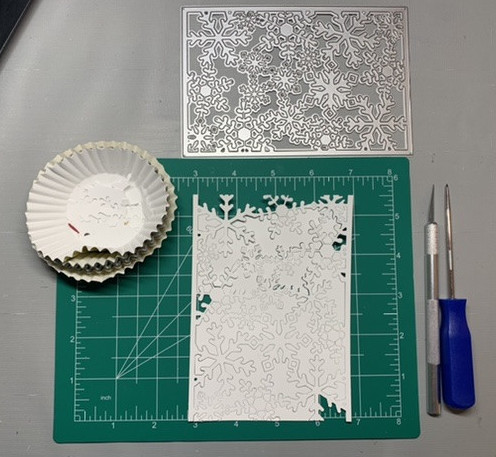
This is how the two die cut layers look before being glued together:

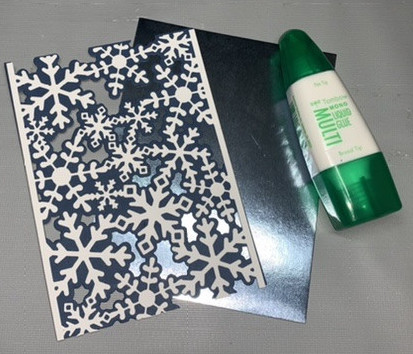
I glued the two pieces together which created a nicely layered look. Next, it was time to attach the foil cardstock background to my layered die cuts.
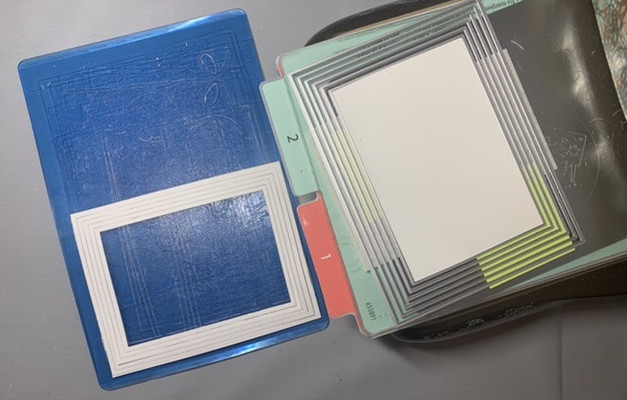
Once I did that, I used my Big Kick and a rectangle die to cut out a rectangle frame. I repeated this process twice so that I had three frames total. In the picture below, you’ll see that my dies are attached on the back with masking tape. I do this so that my frames are the same sizes each time I cut. I glued each of the same sized frames on top of the other so that I had a sturdier frame to work with. I really like how the layered frame adds some dimension to the card. I learned this tip from Jennifer McGuire. If you haven’t seen any of her YouTube videos, I highly recommend that you do. She has TONS of ideas and tips to help viewers with their card making.
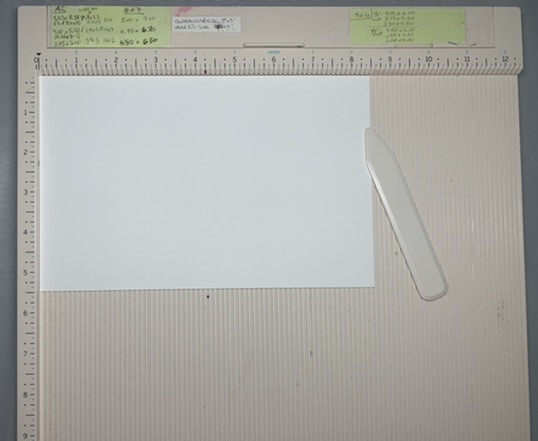
Next, I scored the cardstock that I would be using for both cards. I used a scoring board and a bone folder. The scoring board has a bunch of vertical grooves in it that the tip of the bone folder fits into. If you can see the red dots at the halfway point of this paper (at the top and bottom), that shows me which groove to put my bone folder into as I slide it from top to bottom. Doing this stretches the paper so that when you fold the card, it will be a smoother line at the location of the fold.
Then I used the Big Kick and the “Merry Christmas” die to cut the phrase out of the paper. The last thing to do before putting the card together was to cut out an oval mat to put the “Merry Christmas” die cut on.

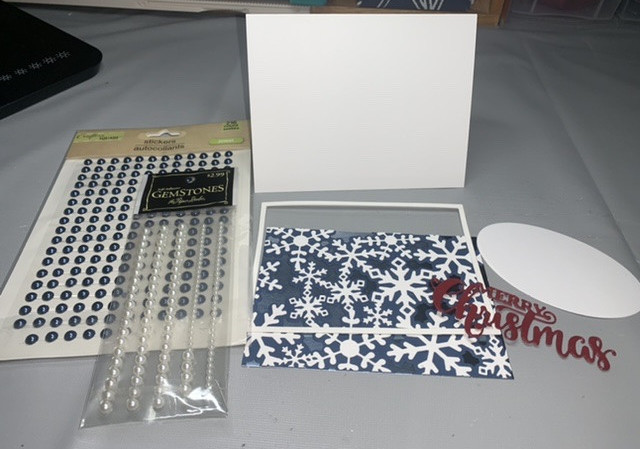
Here’s a picture of the various card parts before putting the card together:
Assembling/Finishing the Ornament Card
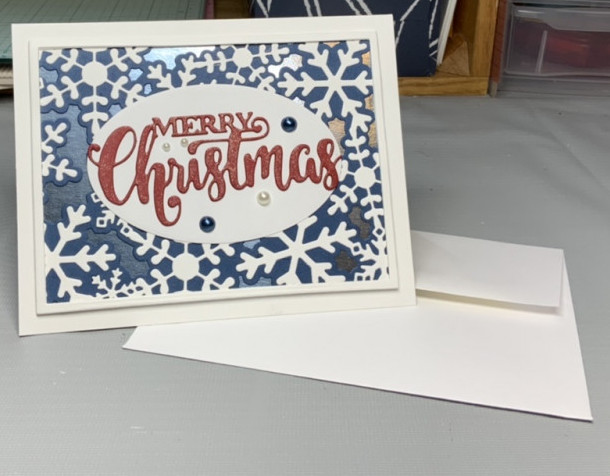
Once I had all of the individual card parts, it was time to put everything together. First I glued the stacked/layered frame to the layered snowflake piece. Next I used my Zig Wing of Stella Pen to add some sparkle to the “Merry Christmas” die cut. After I let it dry, I glued it to the oval mat. The next step was to glue the matted sentiment to the layered snowflake, and then glue that piece to the white card base. Finally, I added a few flat-back pearls of various sizes and colors onto the sentiment mat. During each step where I glued one piece to another, I put the piece on a flat surface and put 3 heavy books on top of it for 5-10 minutes. This gives the glue some time to bond to the paper. Jennifer McGuire taught me that too 🙂
Here’s a picture of the finished card:
Designing the Ornament Card
My first task with the Ornament Card was to pick out the cardstock colors. Here’s what I chose:
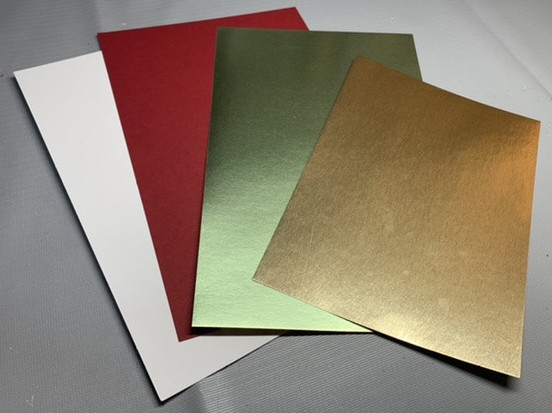
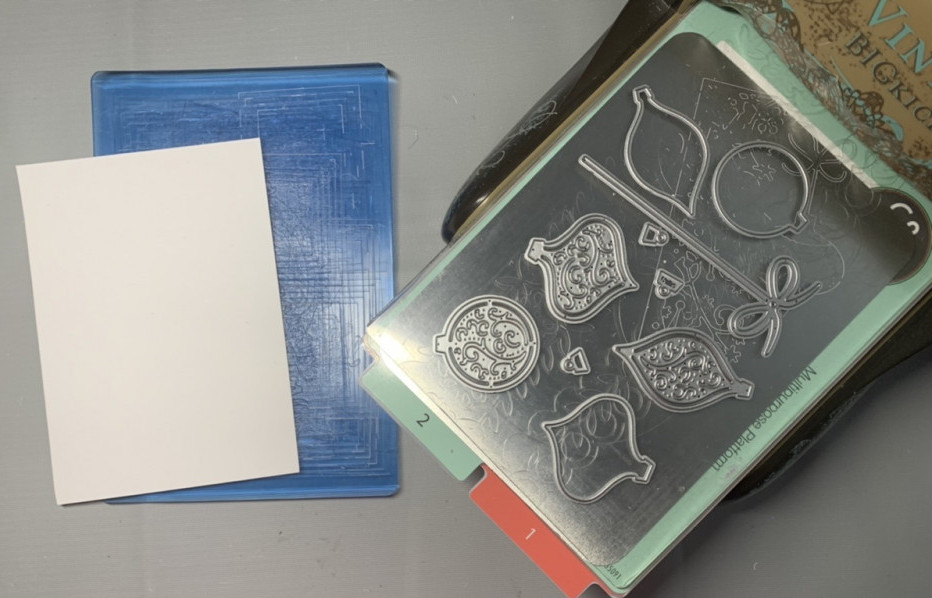
Next, I cut out the ornament shapes with my ornament dies and die cutting machine. I did this with each of the four sheets of cardstock shown above.
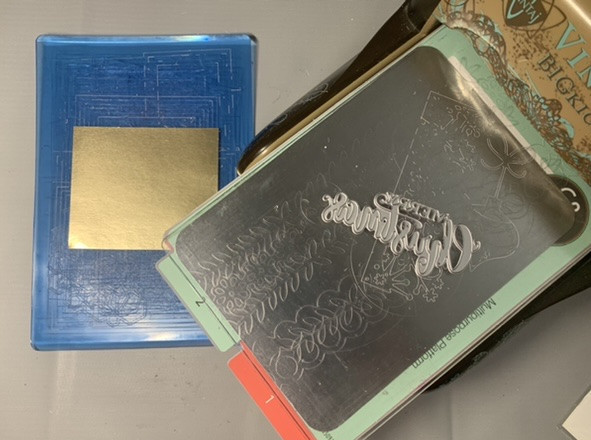
I also die cut another “Merry Christmas” sentiment, but this time I used the gold foil cardstock.
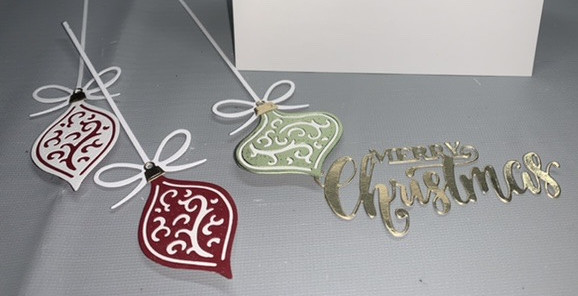
Here are all of the die cut pieces before I started layering them. The die set came with a pine branch die which I ended up not using in the card. I used the Zig Wing of Stella Pen to add some sparkle to a few of the red cardstock pieces.

Assembling/Finishing the Ornament Card
Once all of the card elements had been prepared, I started playing with the different color combinations to see which colors layered the best with the other colors. Here are the color combinations that I chose:

Once I layered the ornament pieces together, it was time to glue it all to the card base. I tried to stagger the height of the 3 ornaments while still making room for the “Merry Christmas” sentiment. Once I was happy with the placement of the ornament and the sentiment, all that was left to do was to put a flat-backed pearl in the hole where the bow of the string meets the ornament. Here’s a picture of the finished card:
Conclusion
That’s it for today, folks! I hope you enjoyed my die cut Christmas card ideas. I really enjoyed making these cards, and hopefully this post sparked some creative ideas in you so that you’ll have some Christmas card ideas ready for the holiday season. See you next time!
Supplies Used:
Neenah Classic Crest Cardstock – Solar White, 110 pound weight
Papertrey Ink Cardstock – Enchanted Evening
Recollections Pastel Foil 8.5″ x 11″ Cardstock Paper, Blue and Green
Recollections Shades of Red Cardstock Paper (3rd in the pack)
Ammsochy Cutting Dies 3D Backgrounds Frame Metal Stencils Scrapbooking Tools DIY Craft Carbon Steel Embossing Template for Paper Card Making Album Arts Crafts Supplies (Snowflakes Die)
Sizzix Vintaj Big Kick Die Cutting/Embossing Machine
Exacto Knife Style + 6 blades #11 x-acto Hobby Multi tool Crafts Cutting
Caydo 11 Pieces Craft Vinyl Weeding Tools Stainless Steel Precision Craft Basic Set Craft Vinyl Tools for Weeding Vinyl
Post It Notes (for keeping paper in place when die cutting with the Big Kick)
CottageCutz CCSHIM1 Universal Shim Plate Die Cuts
AHTOLS Merry Christmas Cutting Dies, Christmas Tree Truck Die Cuts Metal Embossing Stencils Template Mould for Card Scrapbooking and DIY Craft Album Paper Card Decor
Martha Stewart Crafts Scoring Board Tool for Making Cards, Envelopes, Giftboxes and More, Off-White, 12″ x 12″
Hero Arts DI198 Infinity Dies, Nesting Rectangle
Tombow Mono Multi Liquid Glue, 0.88 Ounce, Single
3 Pieces Christmas Metal Die Cut Assorted Silver Cutting Die Decorative Cut Stencil Manual Snowflake Die Christmas Die Crafting Die Cut for Card Making DIY Craft Scrapbook Embossing Embellishment
Accent Opaque White 11” x 17” Cardstock Paper, 80lb, 216gsm – 250 Sheets
Fiskars SureCut Portable Paper Trimmer, 12 Inch Cut
Nellie’s Choice Multi Frame Dies, Straight Oval
Zig Wink of Stella Glitter Pen
The Paper Studio Self-Adhesive Pearl Gemstones
Crafter’s Square Jewel Pearl Stickers

All I see that is wrong is, if you tell then exactly how you did it, can’t they do them on their own? But asside from that, their are many people who would appreciate the intricate and detailed efforts for special occations. Graduations, marriage, PHD’s, Sweet16, special years of an anniversary. Almost anything that they can give you advanced notice of months or even a year. Keep it up sweetie, lookin good! Kiss my boy
Yes, Tia, that’s the idea! I want folks to be able to make these cards on their own and hopefully use their own creative twist when doing so. Thanks for the feedback!