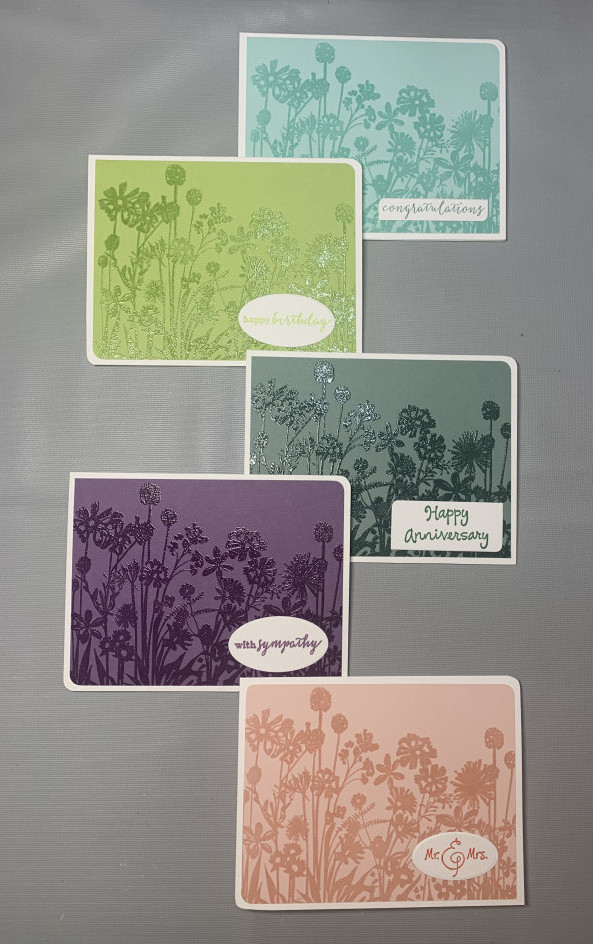
Hi there! Today I’m bringing you some handmade card ideas. For this project, I decided to make a set of cards that have a variety of sentiments. The above picture shows the finished set of cards.
Please join me as I show you how I made these cards!
Card Design
For this set of greeting cards, I’ll be using one of my favorite background stamps along with a watermark ink pad and clear embossing powder. At the end of this post, I’ll list the products that I used to create this card set.
Pick Cardstock Colors and Prepare Paper
Because I decided to make a set of cards, I wanted each color that I chose to be different enough from the others but I also wanted it to look like all of the colors went together. All of the colored cardstock used for this project is from Papertrey Ink.
I decided to start using their paper after discovering that they have color-coordinated cardstock, patterned paper, ink and embellishments. I’m a pretty matchy-matchy kind of card maker, so finding them was a dream come true for me!
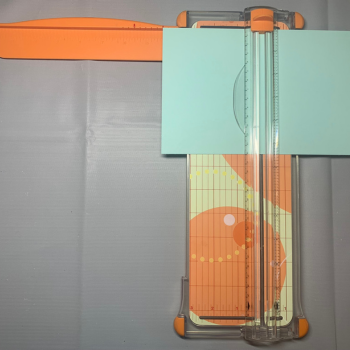
Next, I cut my cardstock down to 4 inches by 5.25 inches (shown below) and will be orienting it with the longer edges on the top and bottom of the card (landscape mode if you were using a tablet).
Stamp and Cut Image and Sentiments
Once I’ve decided what colored cardstock to use and have cut the pieces down to the correct size, it’s time to move on to actually making the card. I used the watermark ink pad and my stamping platform to stamp the image onto my 5 pieces of cardstock.
This stamp used to be mounted on a wood block but I recently removed it so that I could use it with my stamping platform. Removing the wood block also helps a lot with storage since the stamp takes up waaaay less space.
This is what the cardstock looks like after being stamped and before applying the embossing powder and heat.
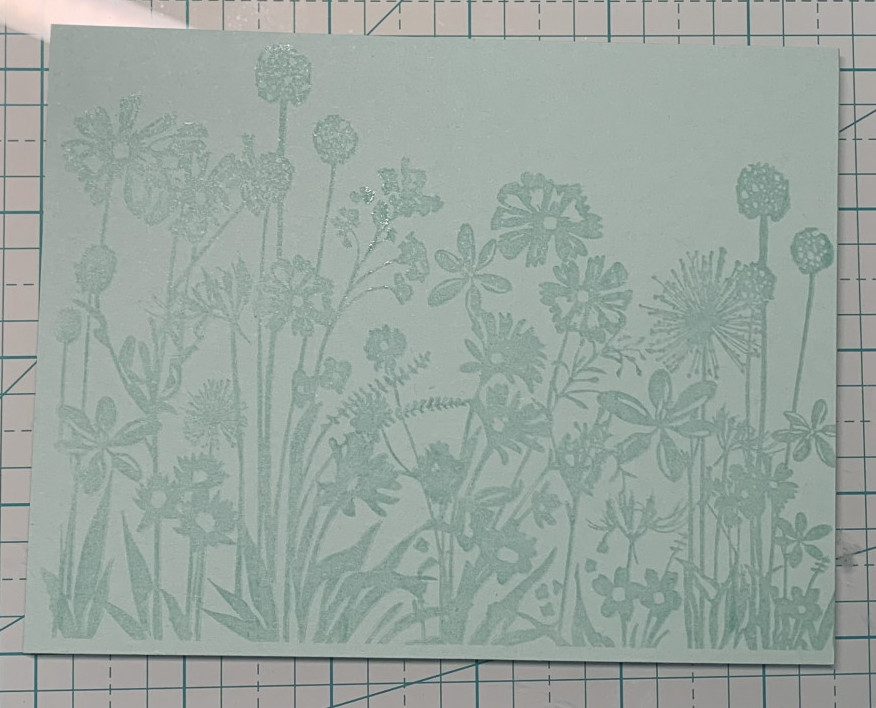
After I stamp the image, I immediately put clear embossing powder on it using a small spoon and then I dump what doesn’t stick to the image back into its container. The picture below shows embossing powder on the part of the card that’s inside the red circle.

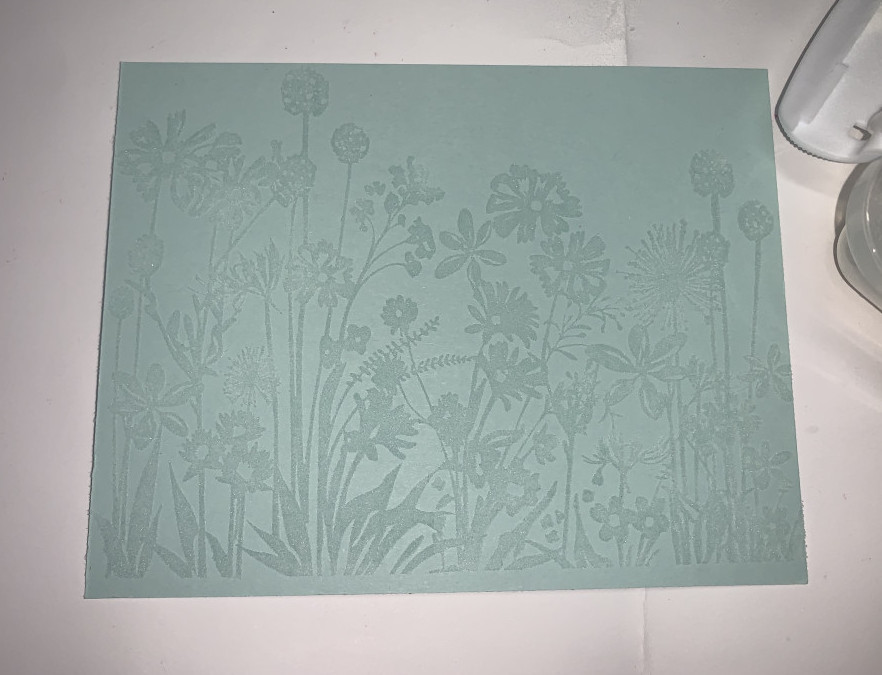
There’s no need to do the entire image at the same time. I usually do a section at a time. This minimizes the chance that embossing powder will be everywhere when I’m done. I use the small paint brush to remove any embossing powder that is on the card that shouldn’t be (using an anti-static pouch prior to stamping your image minimizes stray embossing powder a lot). The picture below shows the stamped image with embossing powder on it before heat embossing it with the heat gun.
Once I’ve got the entire image covered with embossing powder, I use my heat gun to heat set the embossing powder. The heat gun essentially melts the embossing powder onto the stamped image. When I’m finished, the result is a beautiful shiny/glossy sheen on top of the stamped image. In the picture below, the right side has already been heat set/heat embossed.
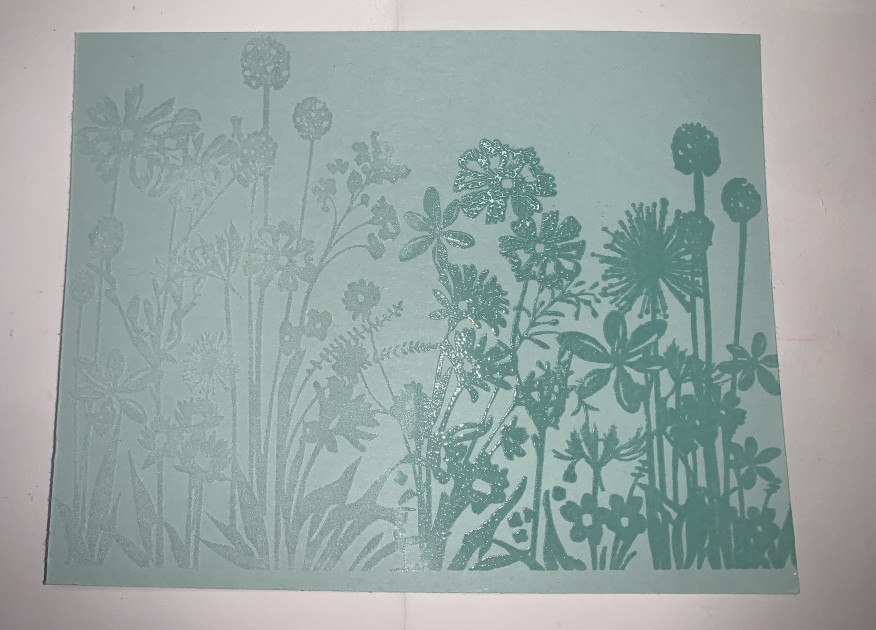
Once the embossing powder has melted, immediately stop heating the area. I’ve learned the hard way that if you heat it for too long, the embossing powder actually evaporates and a lot of the glossy effect will be gone. Not to worry because Versamark makes a dual tip pen which allows me to go back and redo the areas that aren’t glossy anymore. This pen is also a lifesaver if there are small parts of your image that didn’t get stamped onto the cardstock very well.
Next, I stamped my sentiments. On three of the sentiments, shown below, I used Memento Dew Drops Dye Ink Pads.
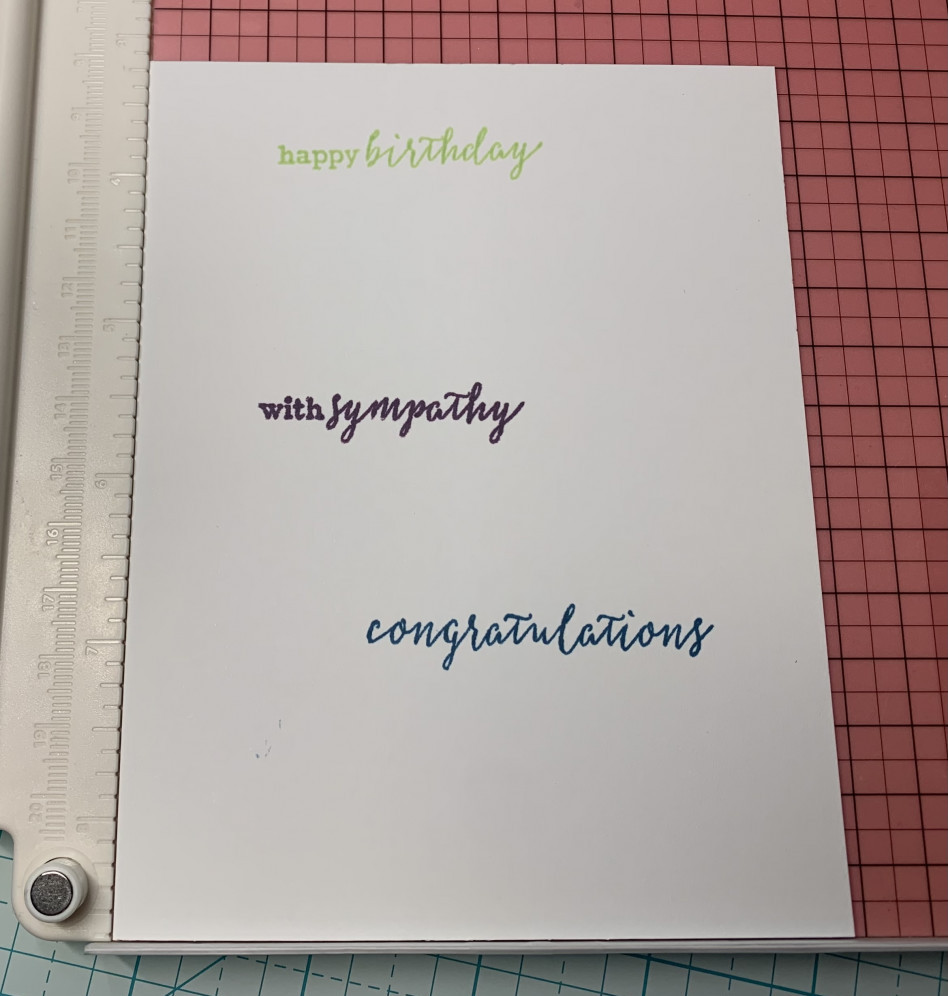
However, for two of the cards, I didn’t have an ink color that matched very well so I used my Tombow ABT Dual Tip Markers to apply color to the stamp before stamping the image onto paper. I never knew that you could use Tombow markers to stamp images and I’m SO happy to have found this workaround!
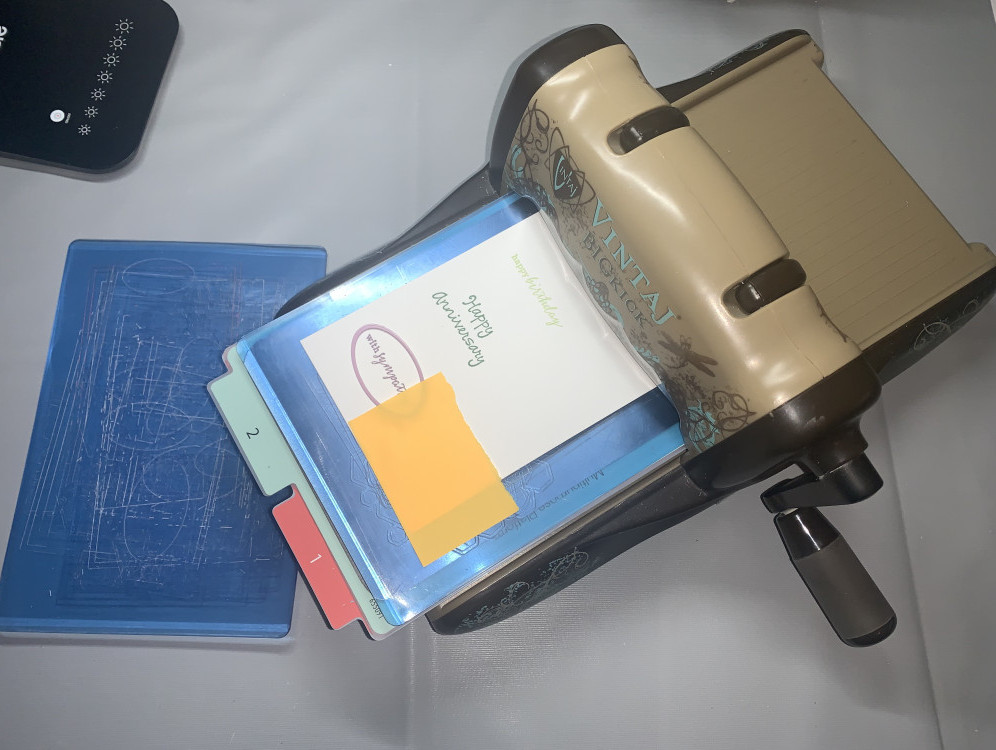
Next, I used rectangle and oval dies along with my Vintaj Big Kick to cut out the sentiments.
Assemble the Cards
Now that all of my card parts are finished, it’s time to assemble the cards into their final versions. I used a corner cutter/rounder to cut opposite corners of the card itself, the cardstock as well as a couple of the sentiments. Next, I used craft glue to glue the sentiments to the colored cardstock.

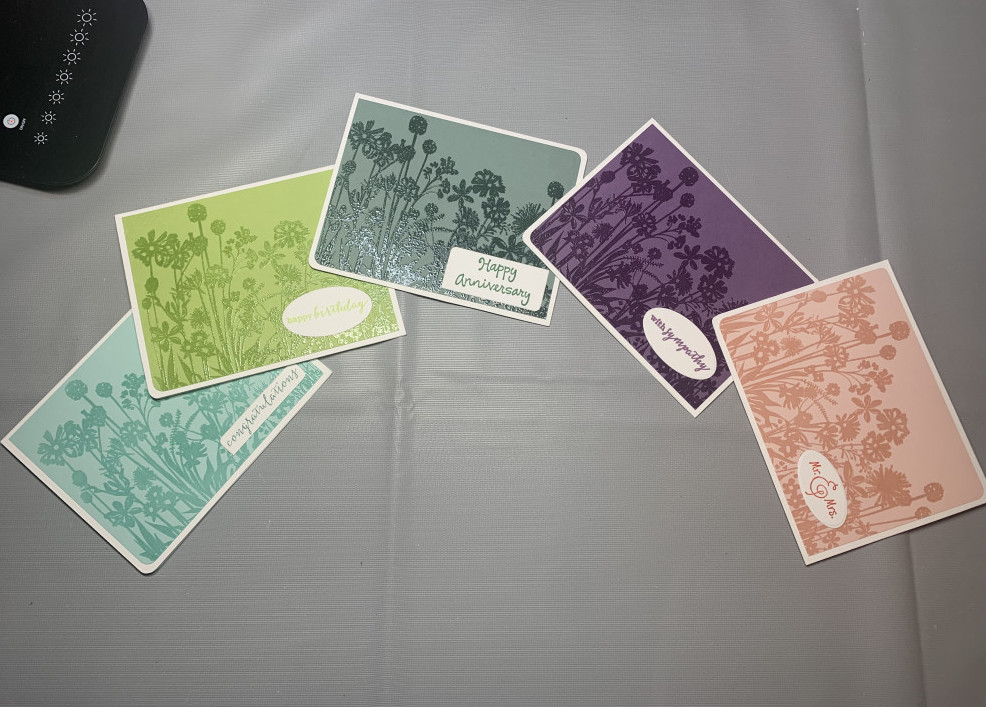
Once that was done, I glued each piece of cardstock onto a blank card. That’s it, you’ve just created your own set of handmade greeting cards! Below are some group and individual pictures of the finished cards.
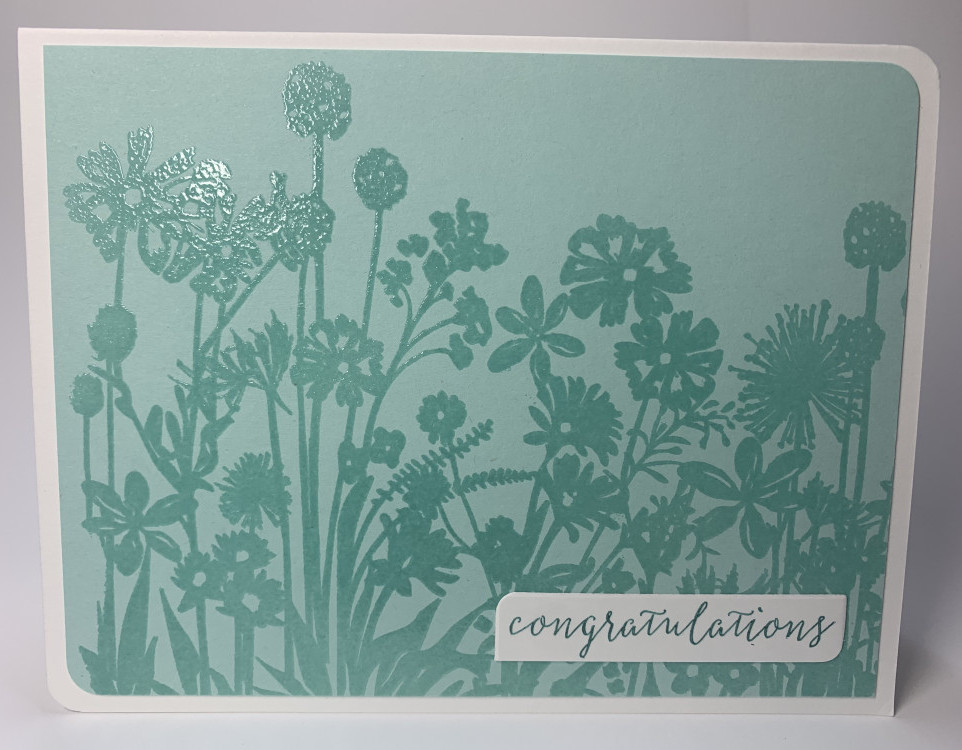
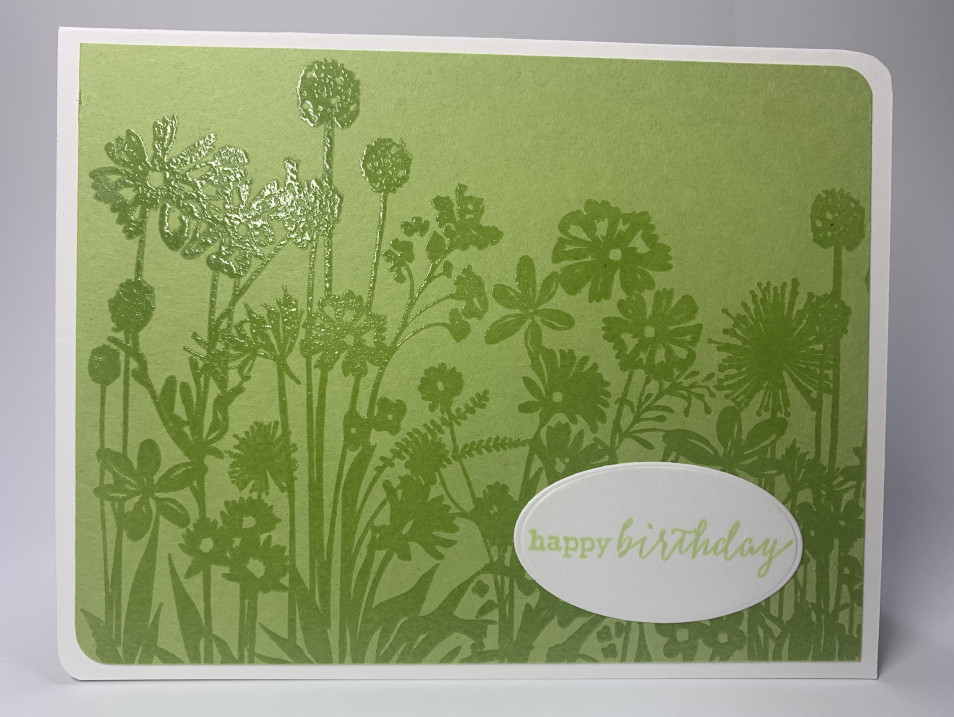
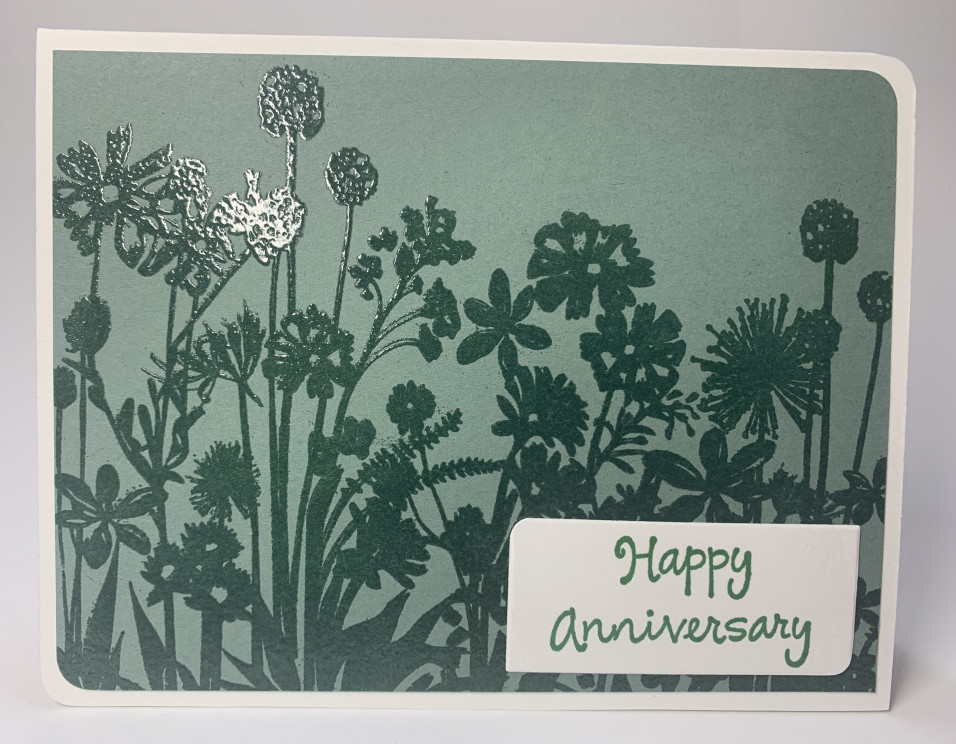
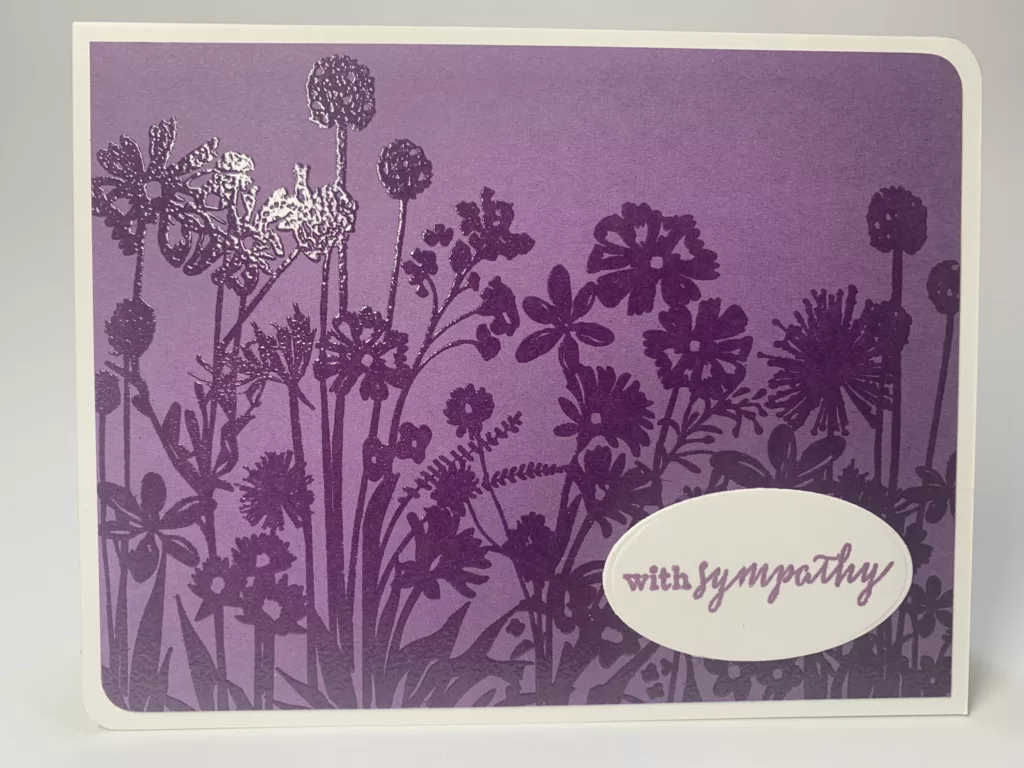
Conclusion
Well, there you have it! Hopefully I’ve helped you out by giving you some useful handmade card ideas. And if you followed along and did the project, now you have a set of cards that you can use for yourself or gift to someone else! Let me know in the comments down below if you have any questions or thoughts. Thanks very much for spending some time with me!
Neenah Classic Crest Cardstock – Solar White, 110 pound weight
Papertrey Ink Cardstock – Aqua Mist, Green Parakeet, Ocean Tide, Plum Pudding, Sweet Blush
Fiskars SureCut Portable Paper Trimmer, 12 Inch Cut
Hero Arts S5033 DesignBlock Silhouette
Hampton Art Studio G “Happy Anniversary” Stamp
Kwan Crafts Words Clear Stamps for Card Making – “congratulations,” “happy birthday” and “with sympathy”
Stampendous “Mr. & Mrs.” Stamp
Bira Craft A5 Stampingpro Stamp Platform
Anti-Static Pouch
Tsukineko Versamark Ink Pad
Tsukineko Versamark Ink Pen
Recollections Stamp Cleaner
The Paper Studio Embossing Heat Tool
Stewart Superior Corp (Papertrey Ink) Clear Filigree Fine Embossing Powder
Tsukineko Memento Dew Drop Dye Ink Pads – 704 New Sprout, 701 Cottage Ivy, 506 Sweet Plum
Tombow ABT Dual Tip Markers – 346 Sea Green, 743 Hot Pink, 993 Chrome Orange
Vintaj Big Kick Die Cutting Machine
Post It Notes (for keeping paper in place when die cutting sentiments with the Big Kick)
Hero Arts Infinity Nesting Rectangles
Nellie’s Choice Multi Frame Dies, Straight Oval
Elmer’s Craft Bond 2 Way Dual Tip Glue Pen
Sun Star Kadomaru Pro Corner Cutter
