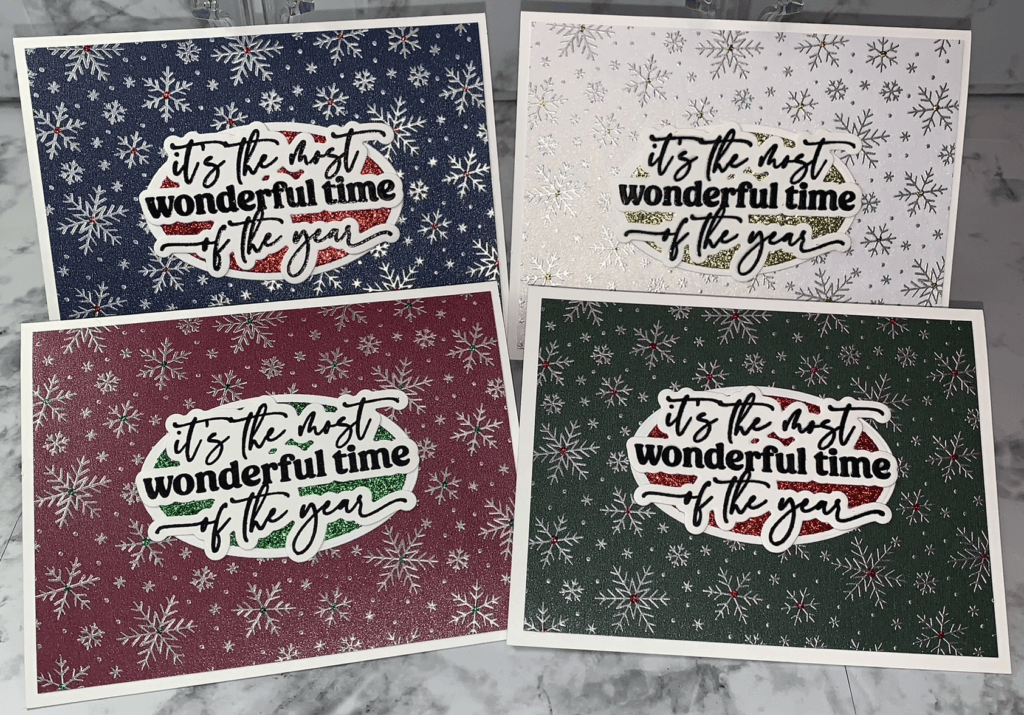
Hello everyone! Today I’ll be making a set of Homemade Snowflake Christmas Cards. The finished set is shown below.
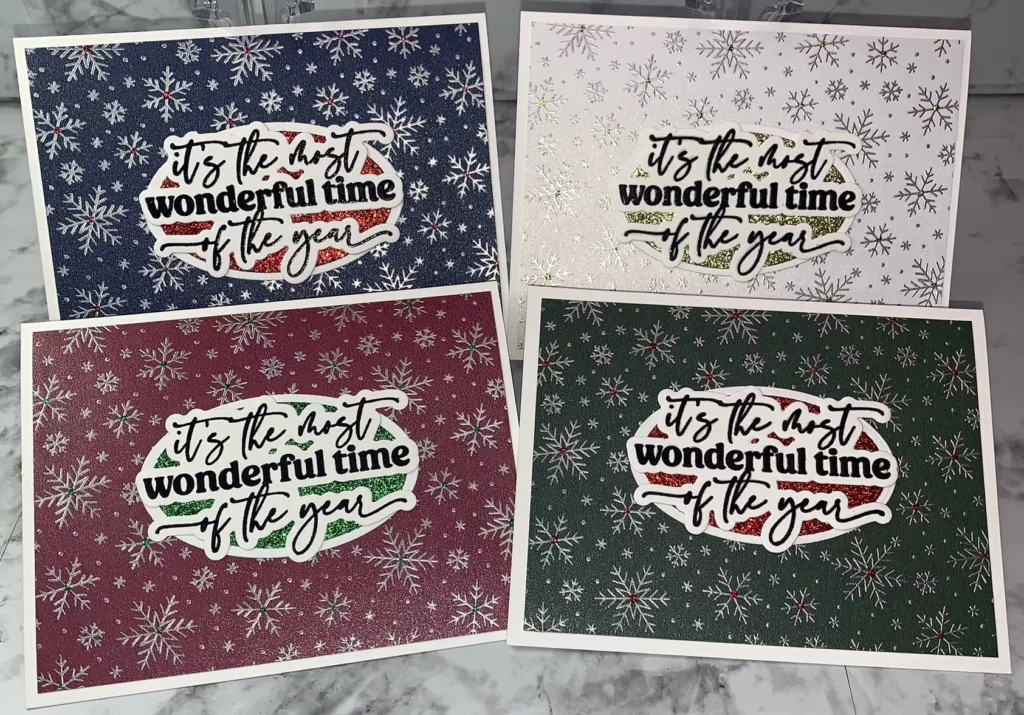
If you’d like to learn how to make these, keep on reading to find out!
Getting Started
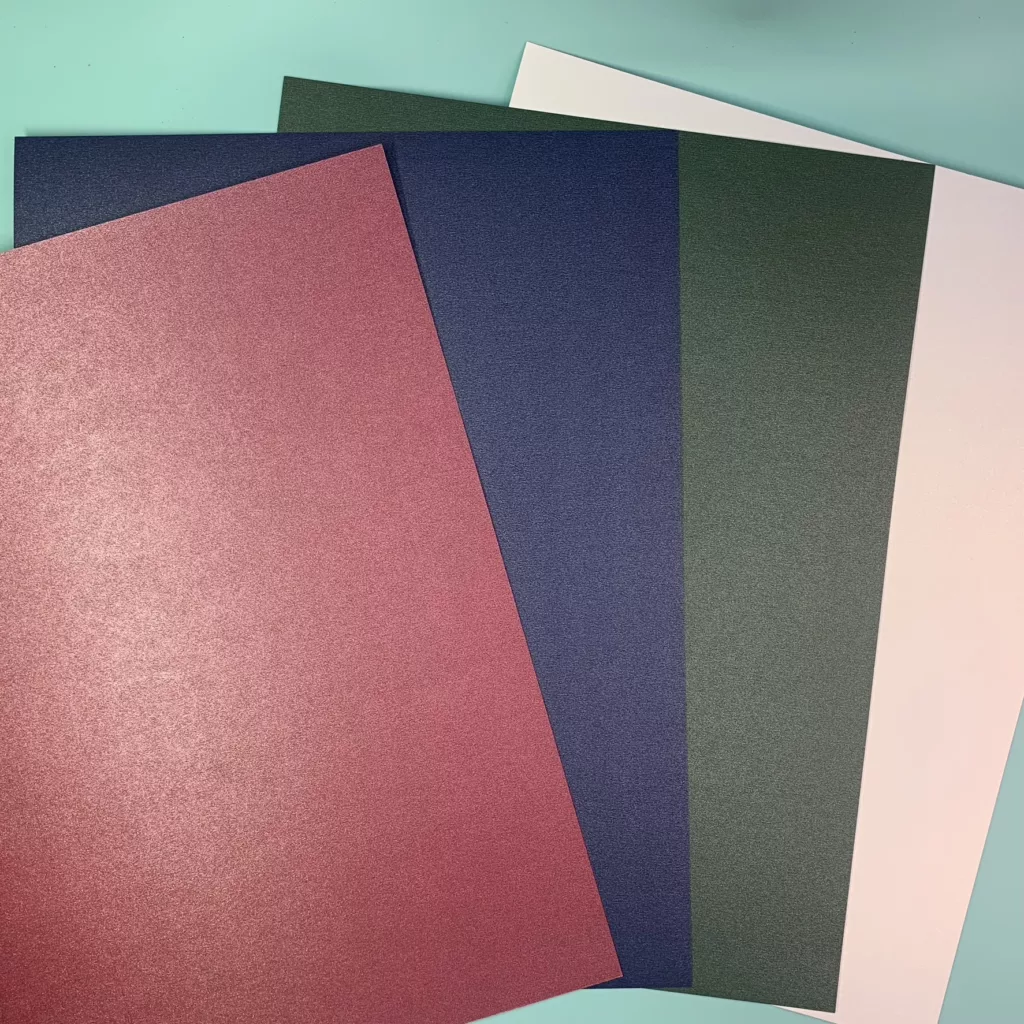
The first thing I’ll do is to get out the cardstock that I’ll be using to make the cards (I will list all of the supplies I used to make these cards at the end of this post). I wanted to maximize the amount of sparkle on these cards, so I chose a pearlized cardstock that has the most beautiful shimmer on it. I picked four Christmas-type colors from the cardstock set that had many other colors in it as well. Below is a picture of the colors that I chose.
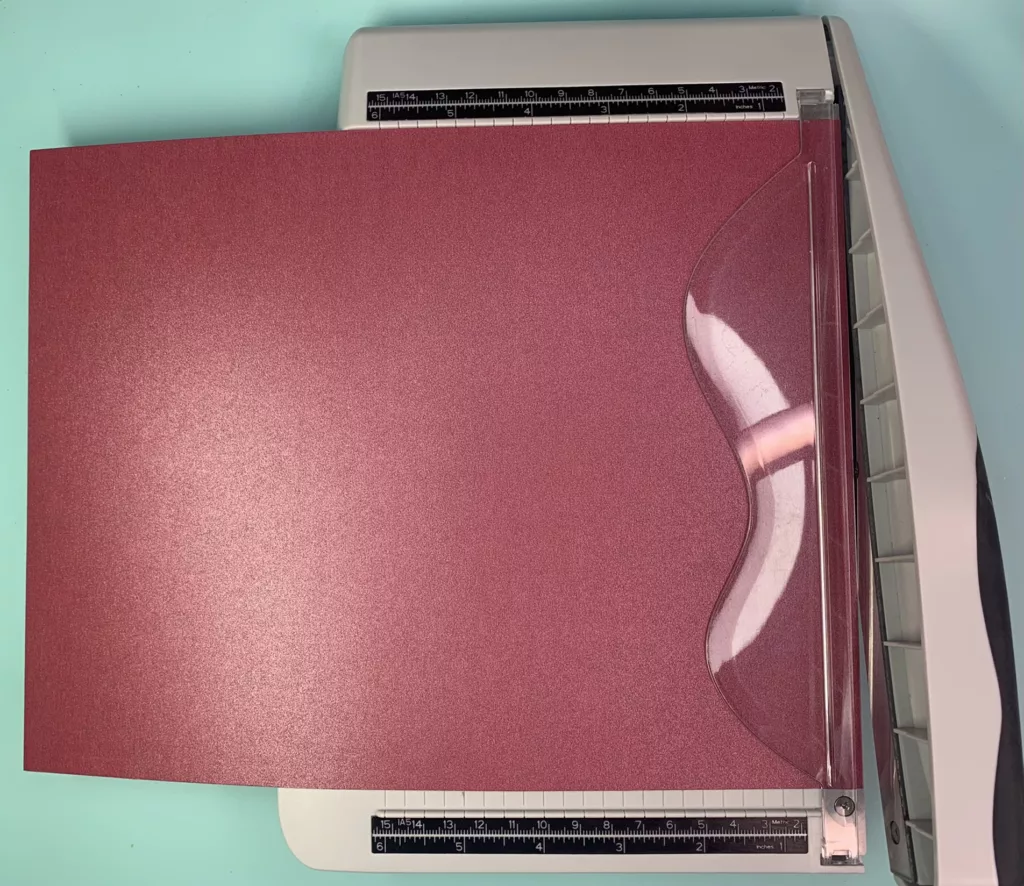
I decided to use the red cardstock to show you the process of how I made the cards, then I’ll repeat that process with the other three colors. I cut my 8.5″x11″ red cardstock into 4 pieces that are all 4.25″ x 5.5.” Below is a picture of the red cardstock before cutting it into 4 pieces.
I’m almost ready to stamp the snowflake image onto the cardstock. Before doing that, I dab my anti-static bag onto the cardstock several times. I usually do it until I see some dust sitting on the cardstock. Don’t worry about the dust on the card, it won’t interfere with you getting a clear stamped image. It actually will help you to get a good result by eliminating any static electricity on your cardstock.
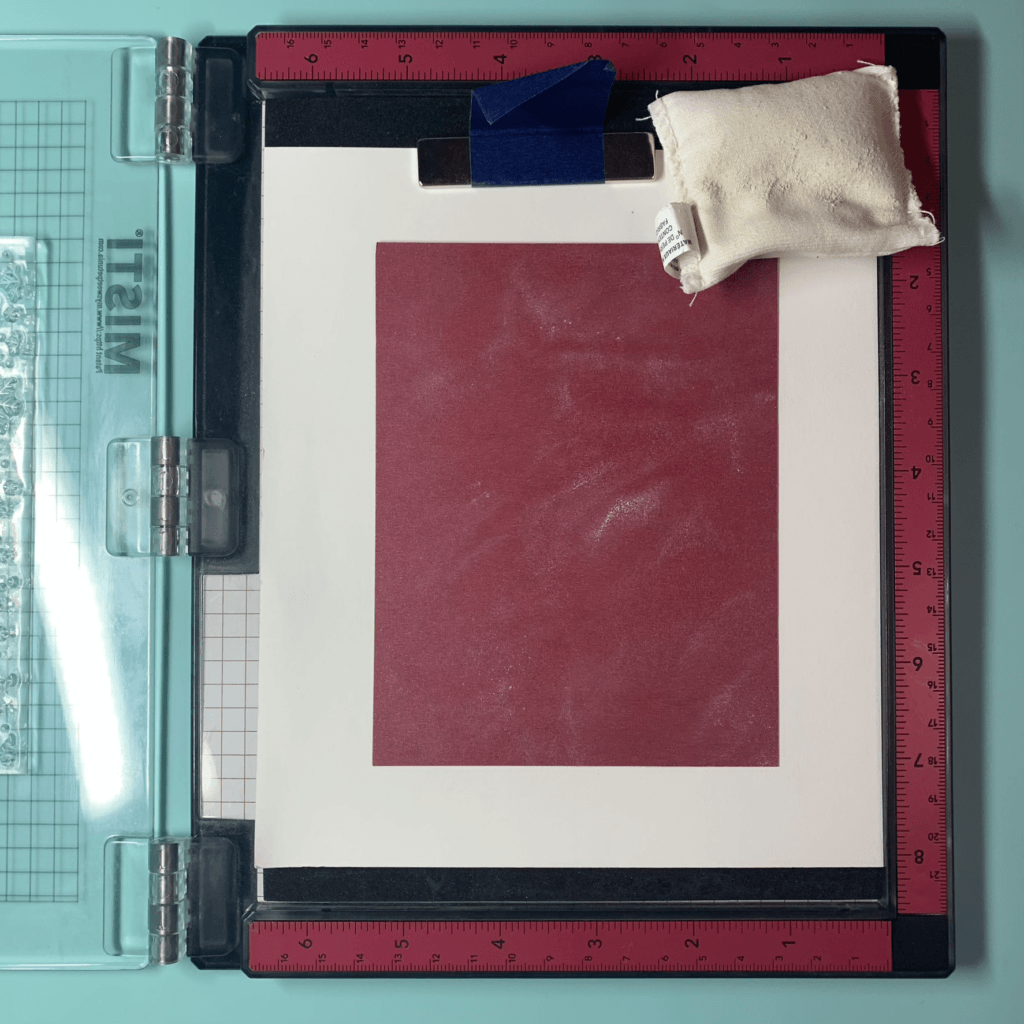
The next thing to do is to stamp the background image using a background snowflake stamp. To do this, I place the cardstock onto my stamping platform. In order to get the stamp placed exactly where I want it, I placed the stamp (without any ink) face down onto the cardstock, making sure that all sides of the stamp reach past each side of the cardstock.
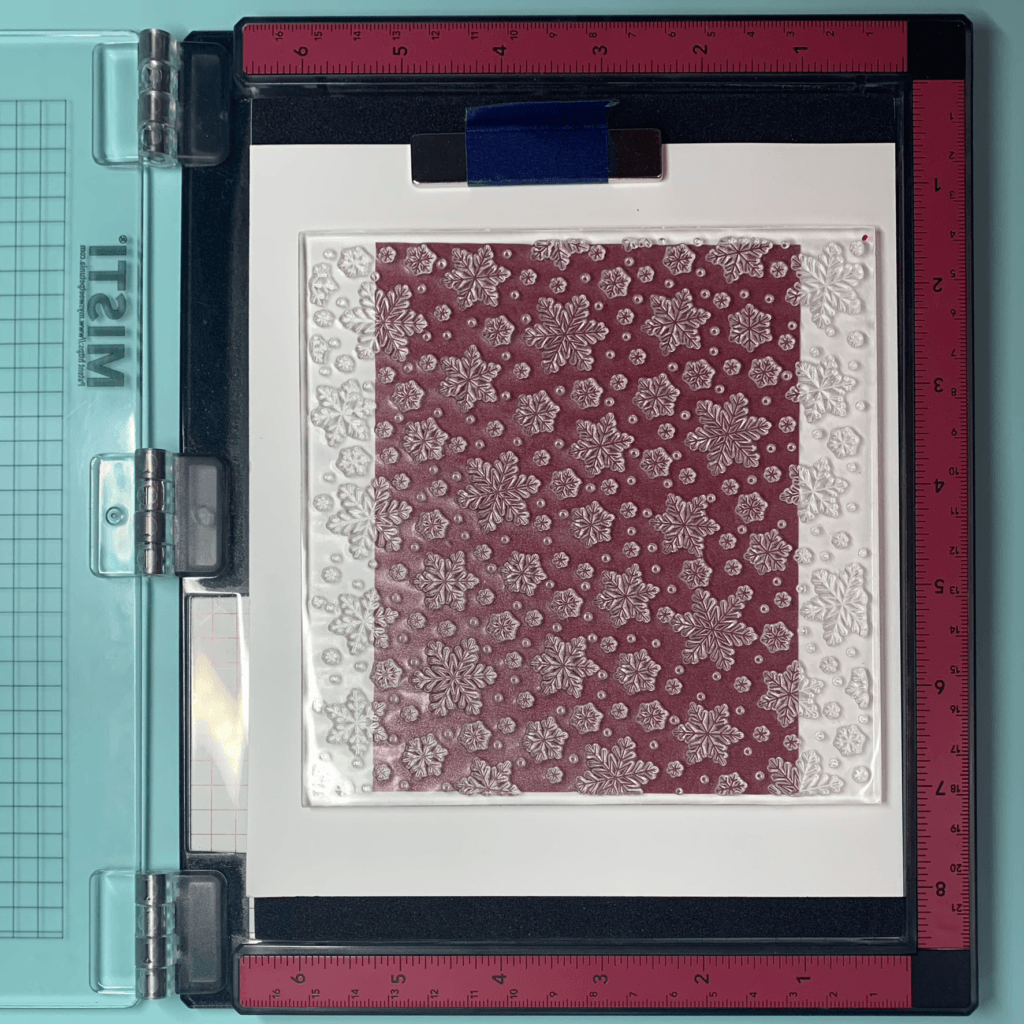
Then I close the top, clear piece of the platform onto the backside of the stamp that is still laying face down on the cardstock. Once I’ve done this, I push down with my stamp pressure tool (or you can use the palm of your hand) and move it around the entire area of the stamp. Doing this makes the stamp cling evenly to the top piece of the platform. This process is shown in the pictures below.

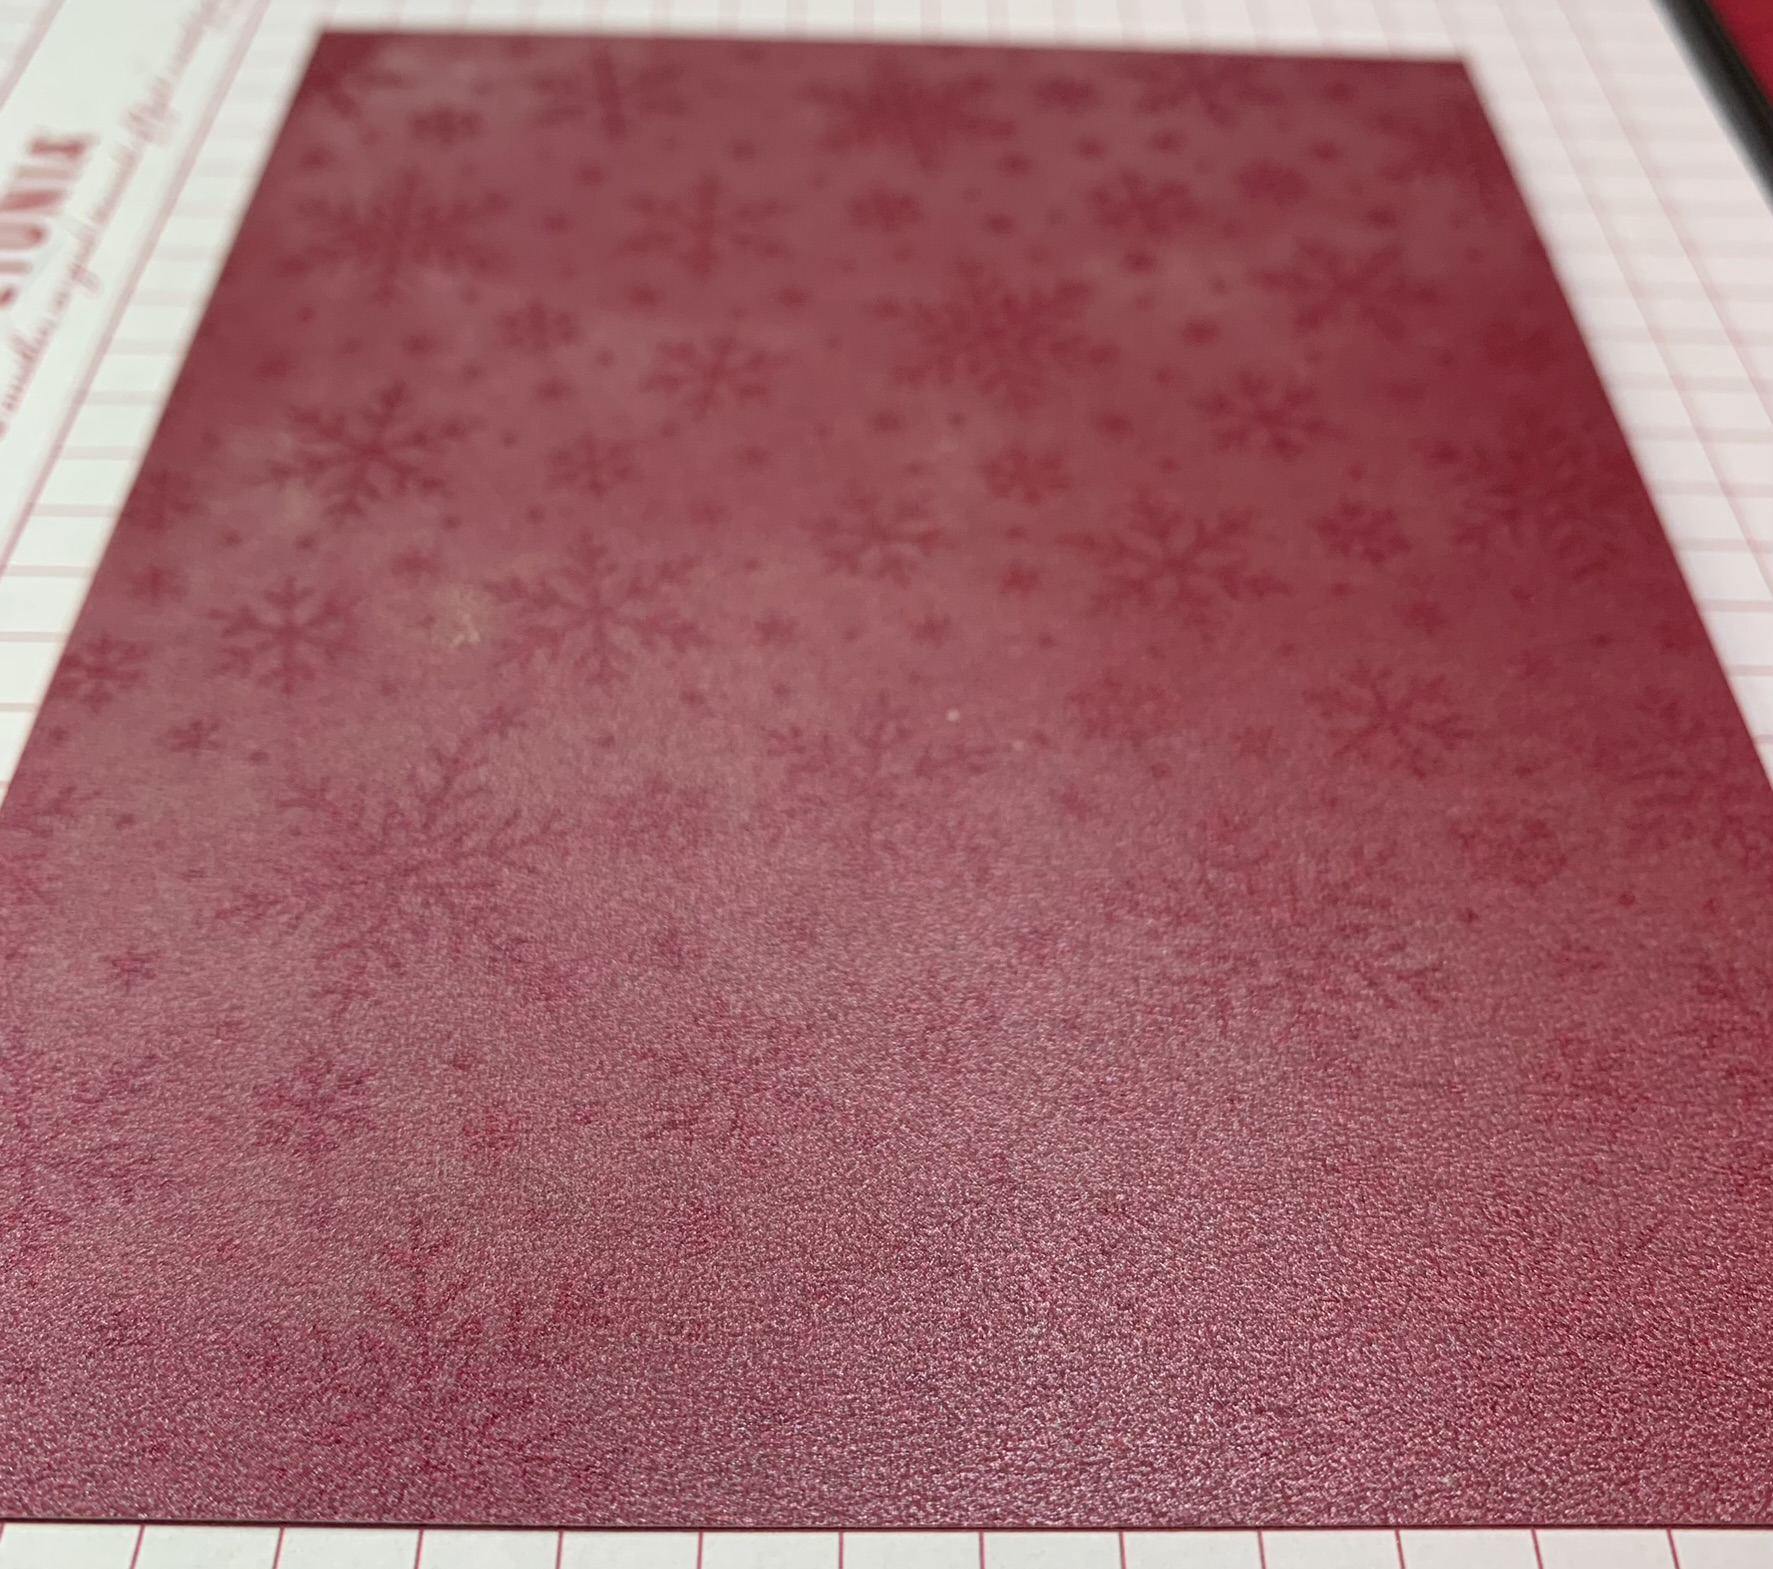
Now it’s finally time to stamp the snowflake image onto the cardstock. I used a clear watermark/embossing ink to do this. I usually ink then stamp two times, which allows a lot of the ink to get transferred to the cardstock. The result may be hard to see if the light isn’t hitting the paper at a certain angle, but don’t worry. The image will show up in a big way soon. Below is a picture of the cardstock after being stamped twice.
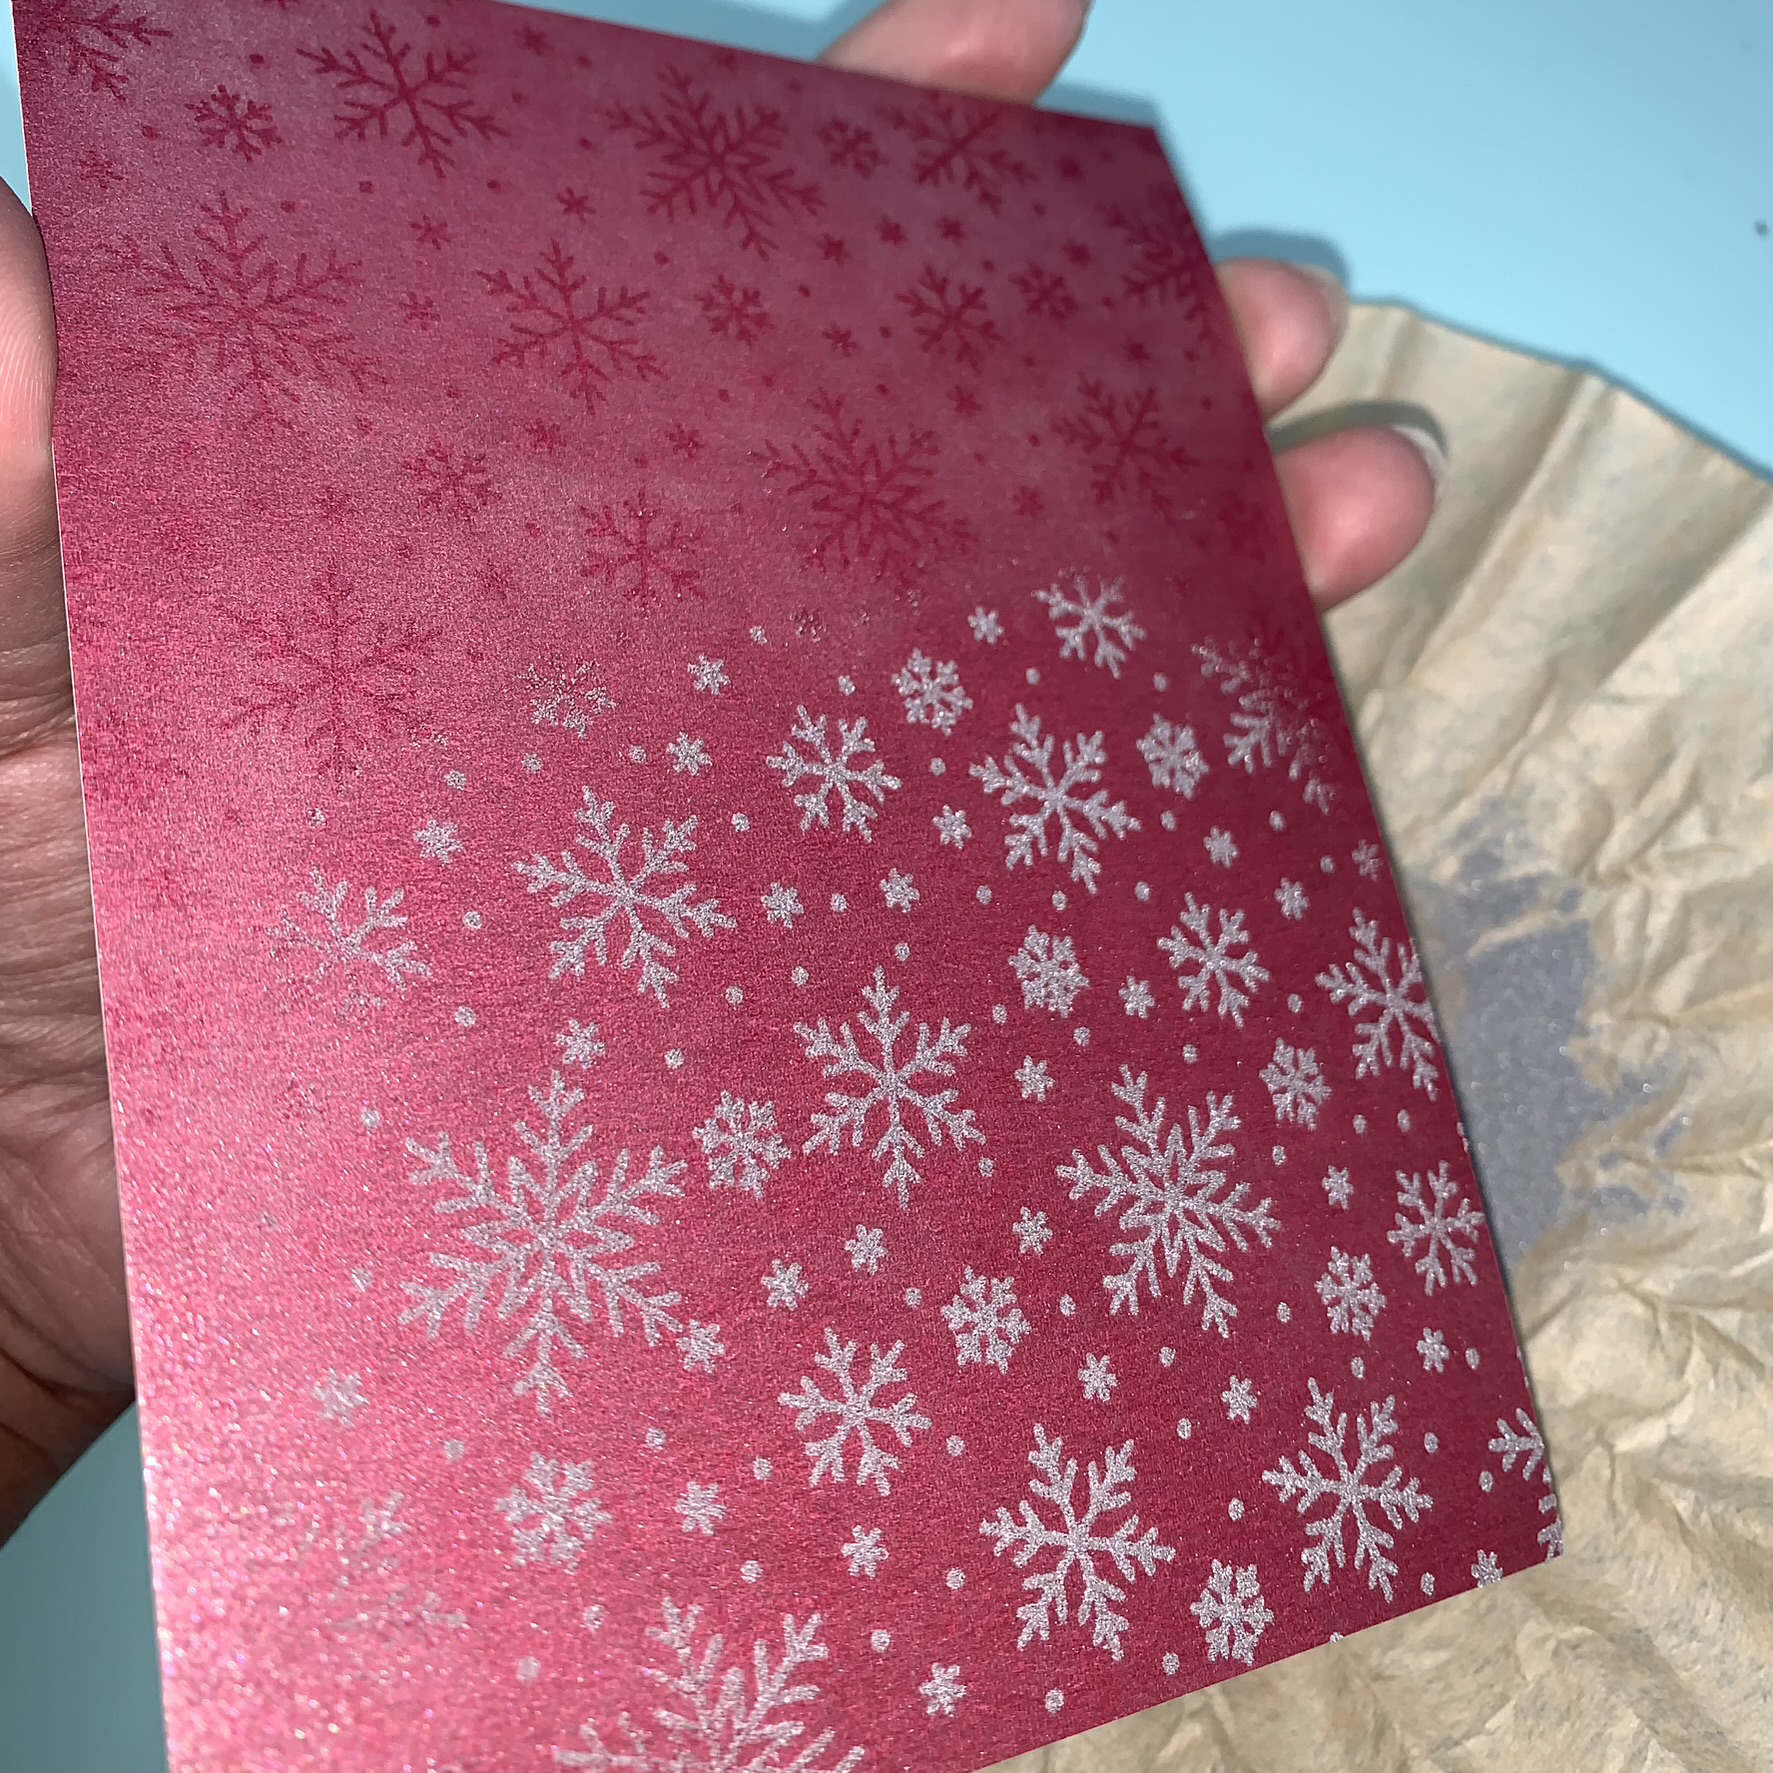
Once the image has been stamped, it’s time to cover it with silver embossing powder. I use a flattened out coffee filter to catch the embossing powder that falls off of the cardstock. This makes putting the embossing powder back into its container a bit easier. Below is a picture of the cardstock with embossing powder on part of the image so that you can see the difference.
Once all of the embossing powder is on the cardstock, it’s time to heat it so that it melts. This will make the stamped image raised, smooth, shiny and permanent. This process is called heat embossing. This particular cardstock burns/discolors much faster than regular cardstock, so I recommend turning on your heat gun and letting it stay on (make sure the heat gun isn’t pointed at anything that could melt/burn) for 30-60 seconds before bringing it closer to the cardstock. When you do begin to bring it closer to the cardstock, make sure you move the heat gun all around the cardstock constantly. Make sure to have at least 1-2 inches between the heat gun and the cardstock. Start further away and keep moving the heat gun until you see the texture and color of the stamped image change. It will be easy to see the change with silver embossing powder. Also make sure to take care of your fingers because the heat gun gets REALLY hot!! The picture below shows half of the cardstock before heat embossing and half after heat embossing.
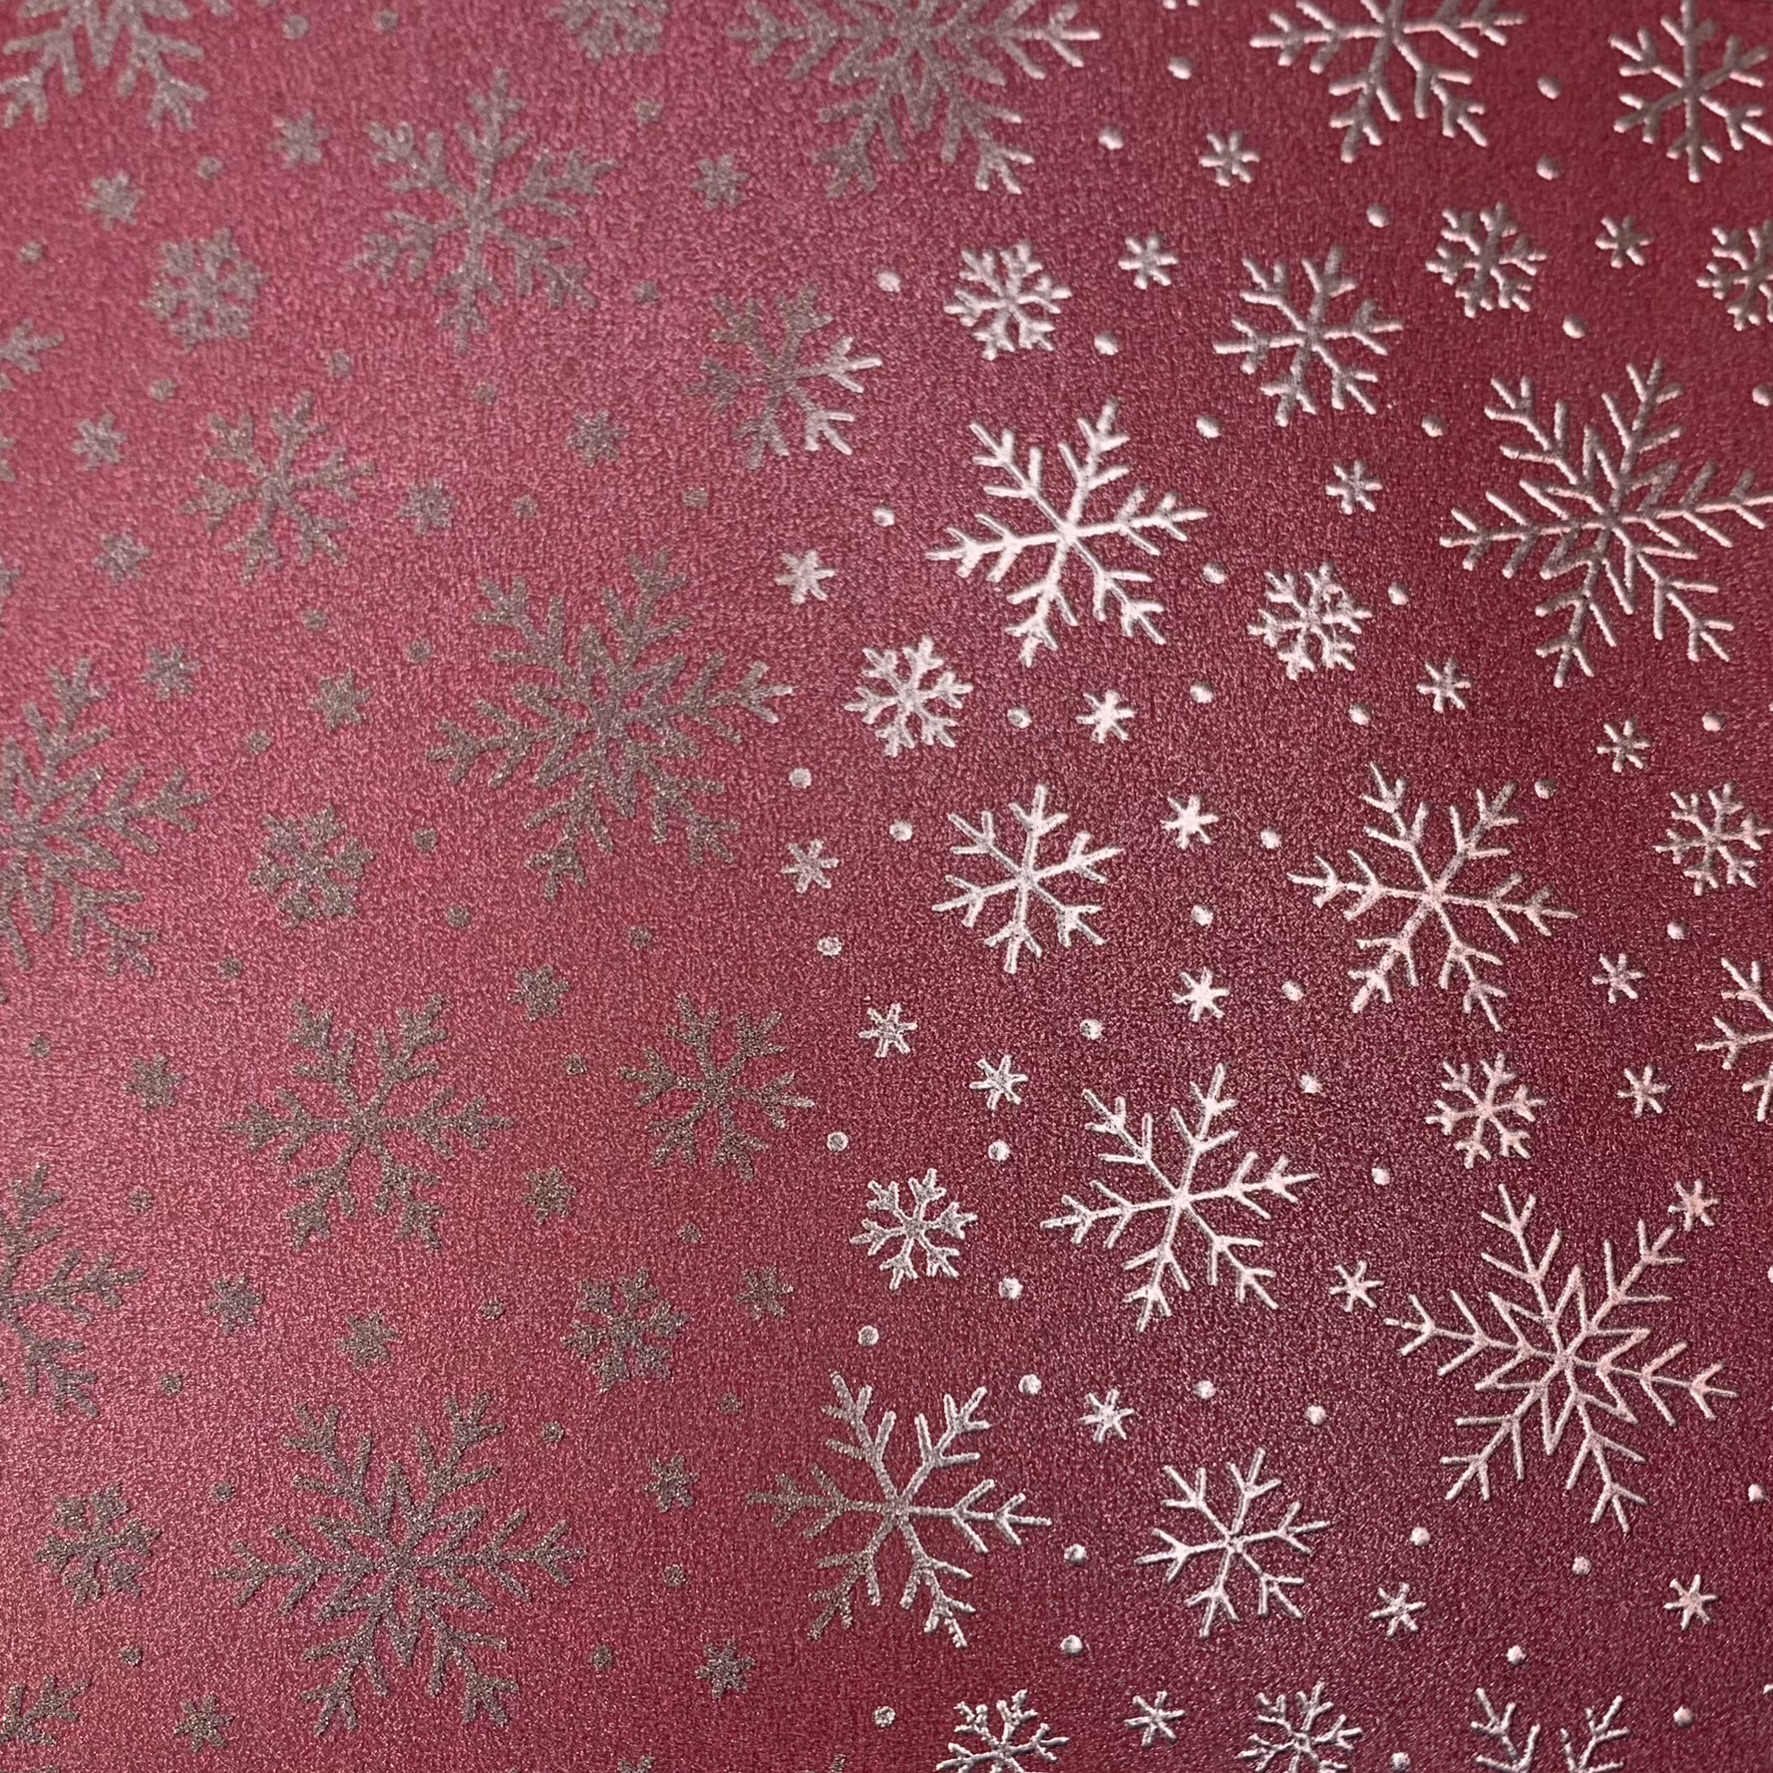
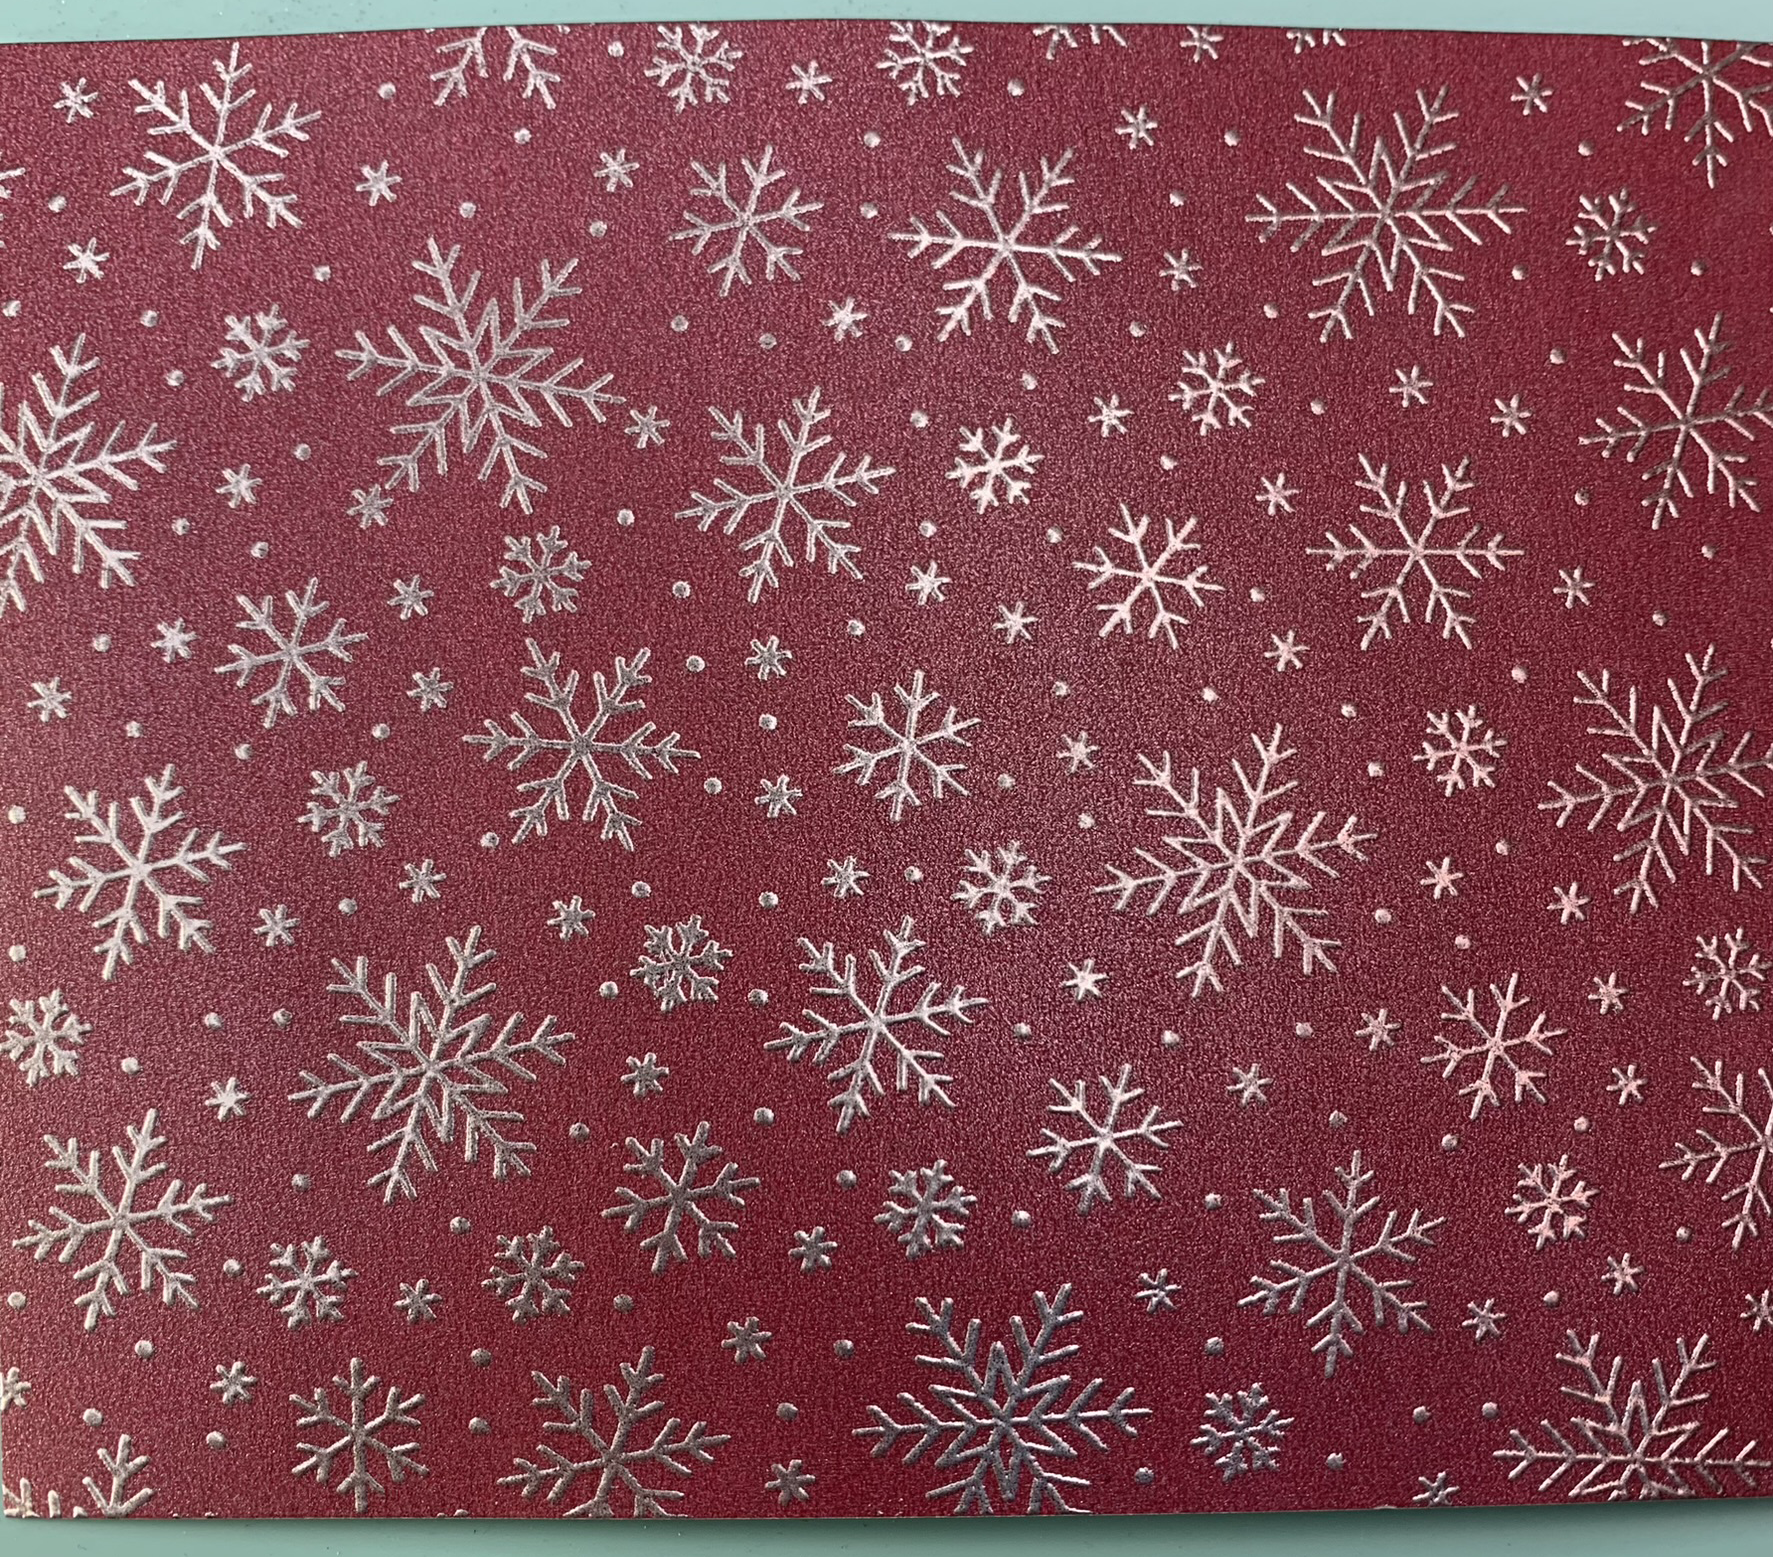
The picture below was taken after the whole piece of cardstock was heat embossed. The photo really doesn’t do it justice but just know that once the stamped image has been heat embossed, the silver will really jump off the card! Heat embossing the image gives it a shiny, polished effect.
Repeat the process above with the blue, green and white pieces of cardstock.
Stamp the Sentiment
Once I have finished stamping the snowflake image onto the cardstock, it’s time to create the sentiments/wording that will go onto the front of the cards. I put a piece of white cardstock on my stamping platform and placed the sentiment stamp face down (without ink) onto the cardstock (this is the same process as stamping the snowflake image which is described above).
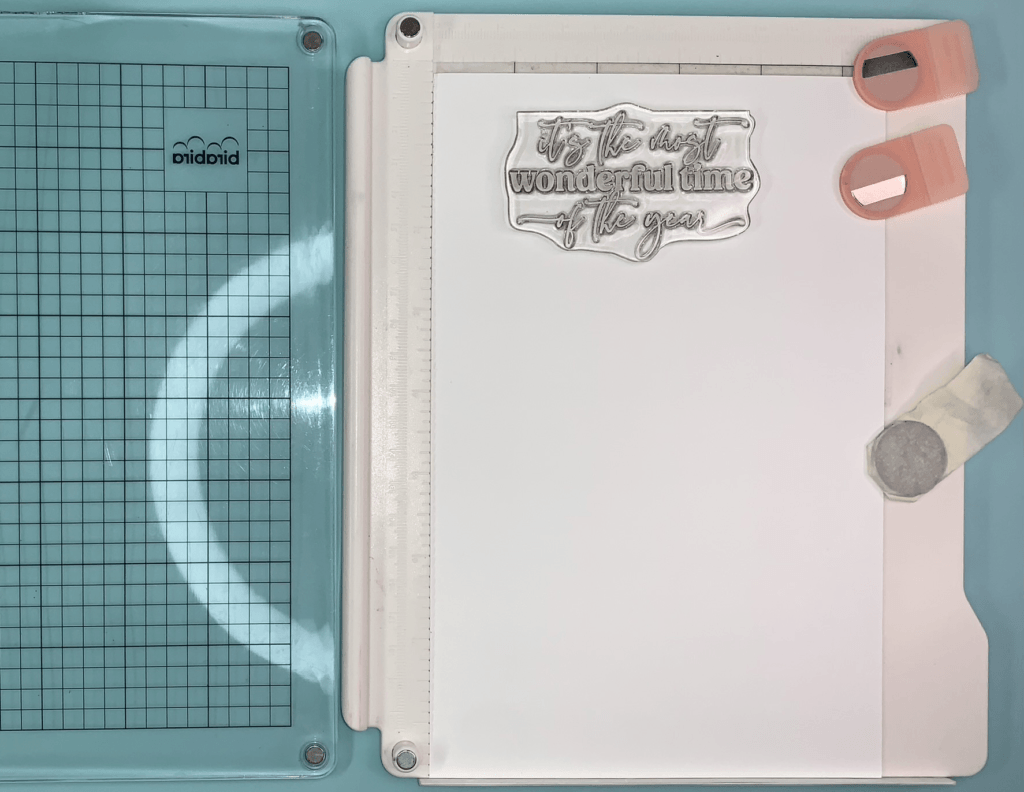
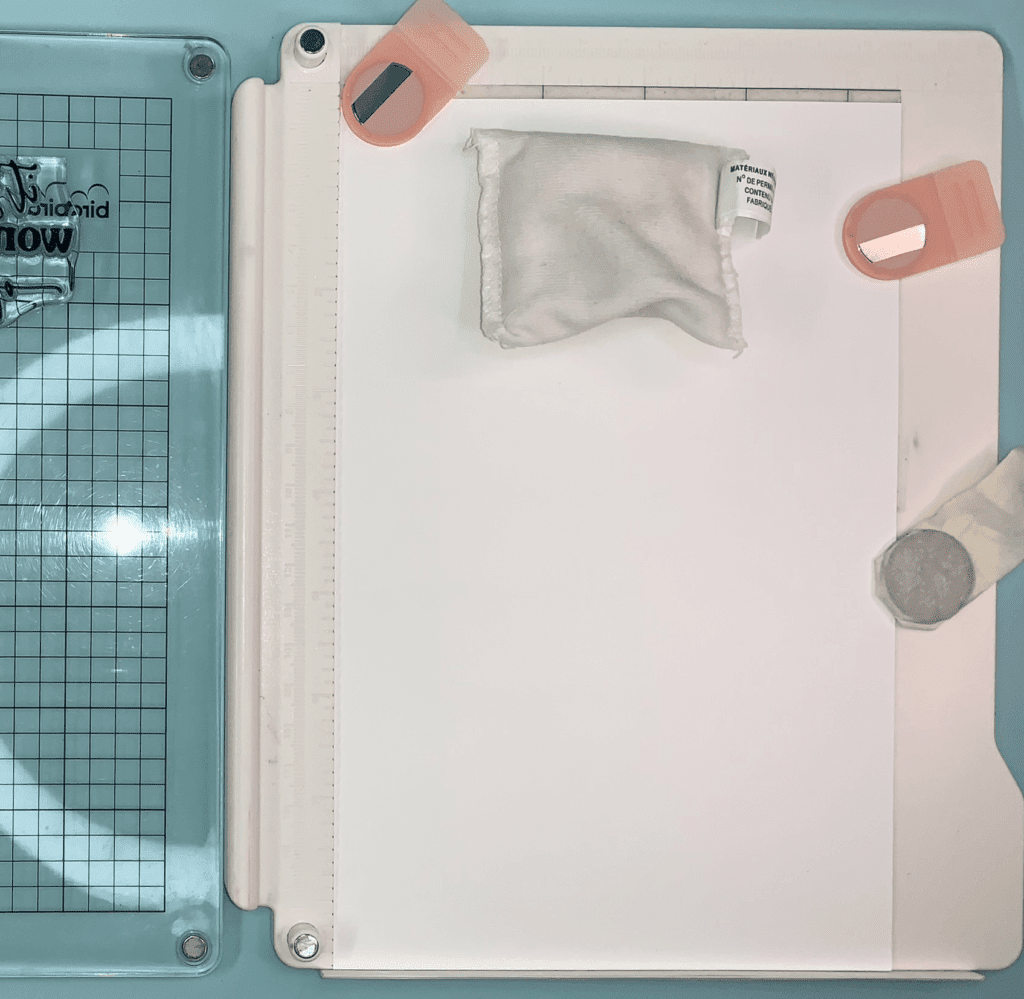
Then I close the top clear piece of the stamping platform onto the stamp and push down, which adheres the stamp to this piece. Next, I dab my anti-static bag onto the cardstock to get rid of any static electricity.
Because I plan to heat emboss this sentiment, I use black pigment ink instead of black dye ink (embossing powder doesn’t stick to dye or some hybrid inks) to ink my sentiment stamp.
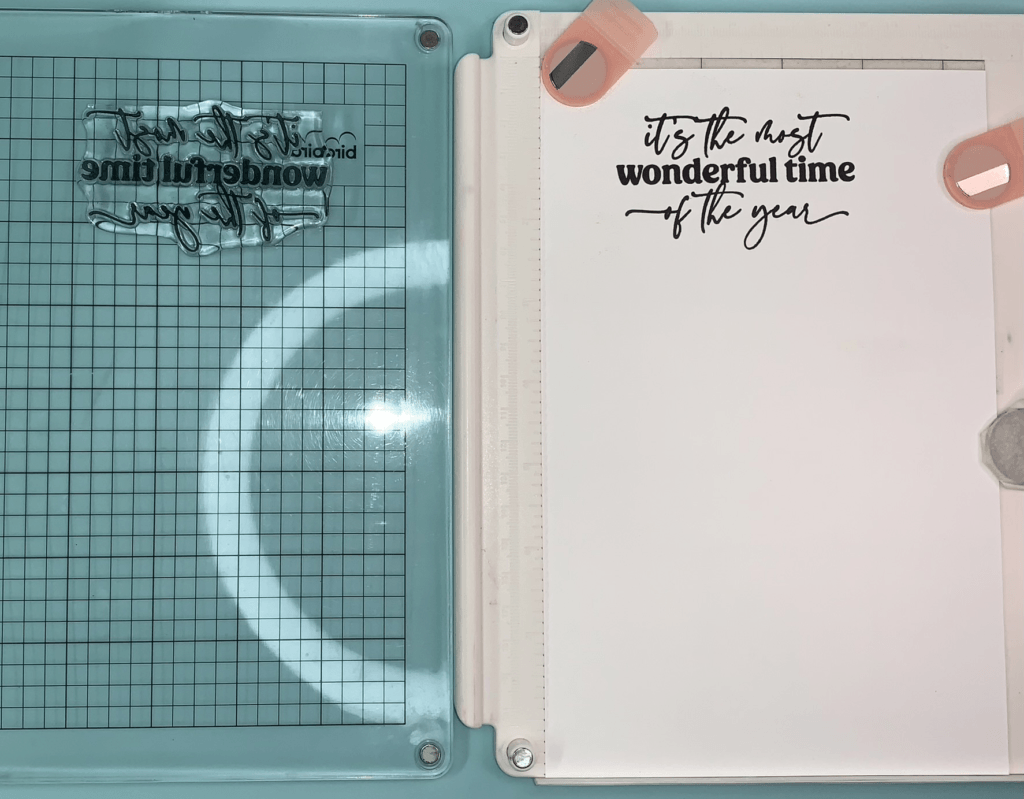
Depending on how the stamped image comes out, I may re-ink and re-stamp one or two more times. While the ink is still wet on the cardstock, I cover the stamped sentiment in clear embossing powder. Below is a picture of the sentiment with clear embossing powder on it prior to heat embossing.

Next, I heat emboss the sentiment with my heat gun. After it has been heat embossed, the sentiment has a nice shine to it. It also adds a bit of depth to the card because the heat embossing creates a raised effect on the card. Below is a picture after heat embossing and before being die cut.
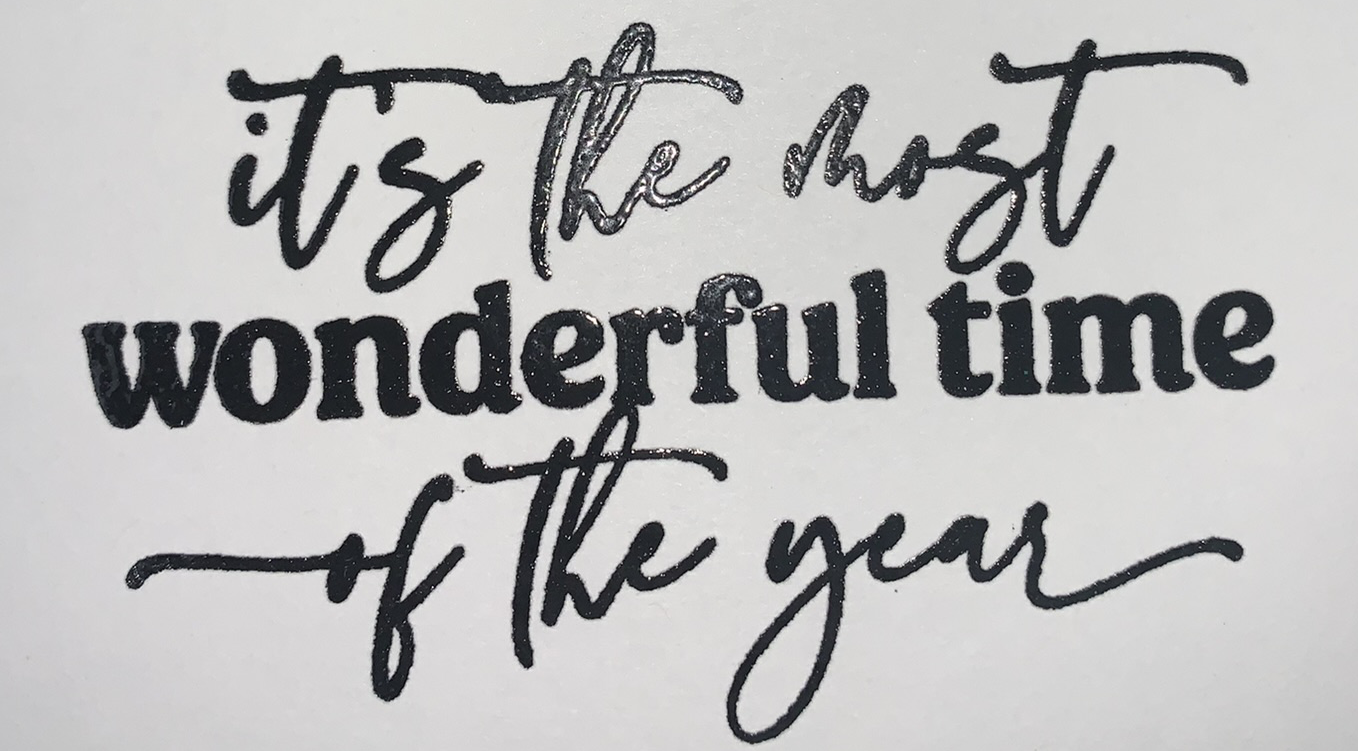
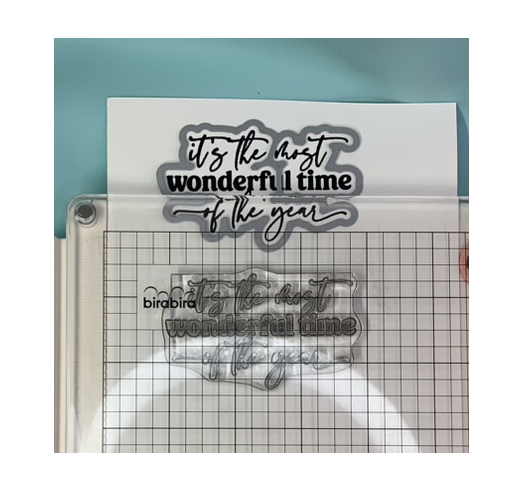
I repeat this process three more times so that I have enough for all of the cards in the set. If you plan to stamp more than one sentiment, be sure to leave enough room between them because you’ll be cutting these out with die cut frames. I usually put the frame around the first sentiment which gives me an idea of how much space I’ll need before stamping the next image. The image below shows this process.
Die Cut Oval Accent and Sentiment
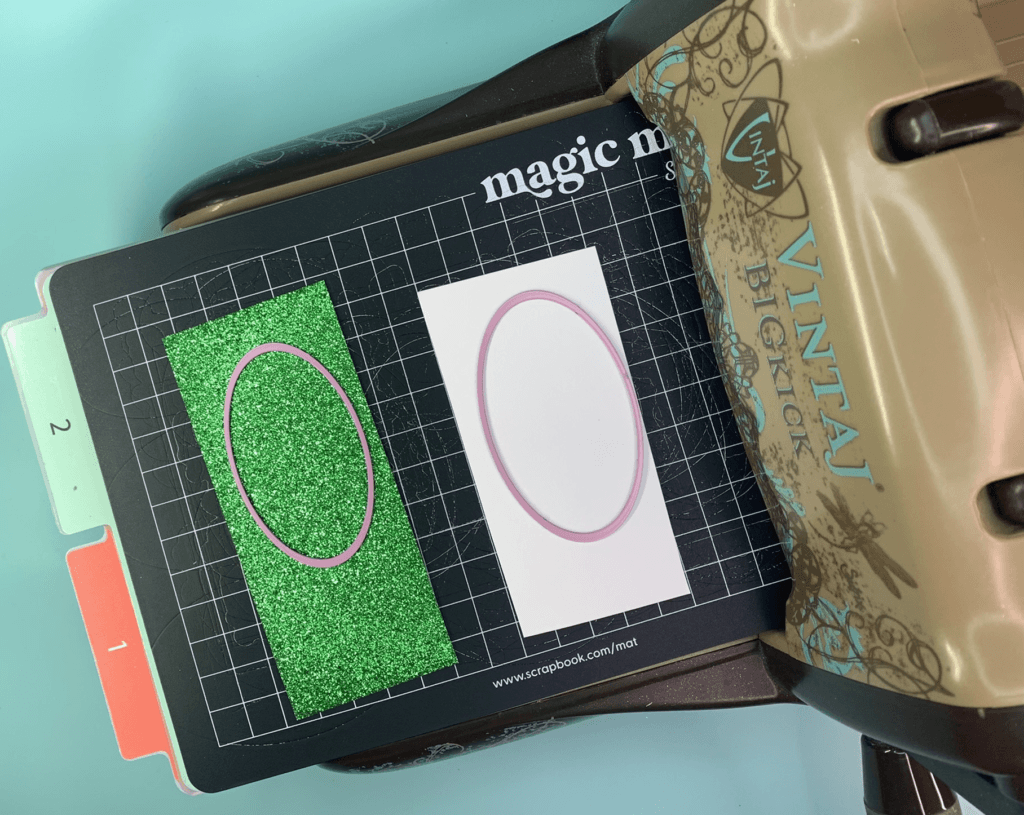
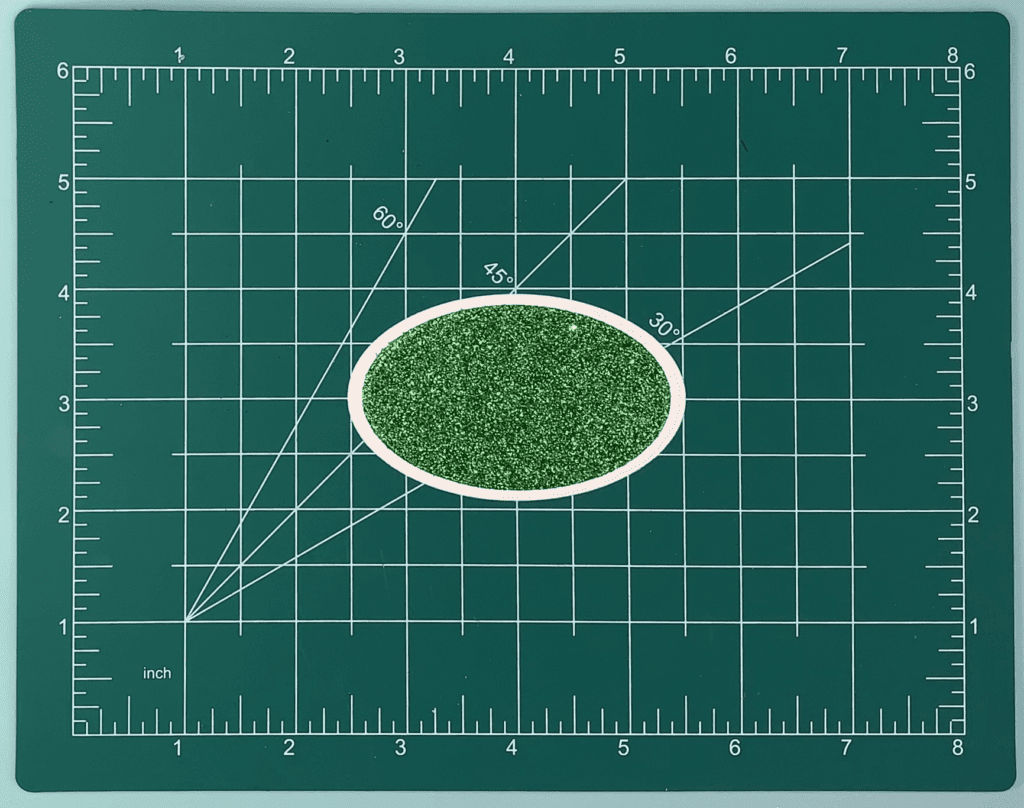
I decided that I wanted to have a layered oval tag to go behind the sentiment. First, I die cut both layers of each tag using my manual die cutting machine. The picture below shows how I arrange the paper and oval dies before putting on the top cutting plate and running it through the machine.
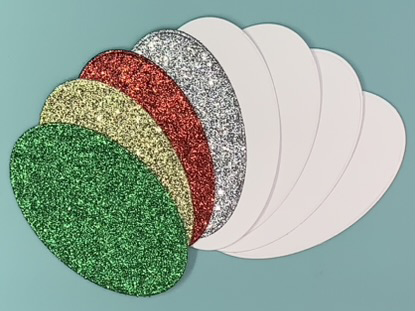
The result is shown below.
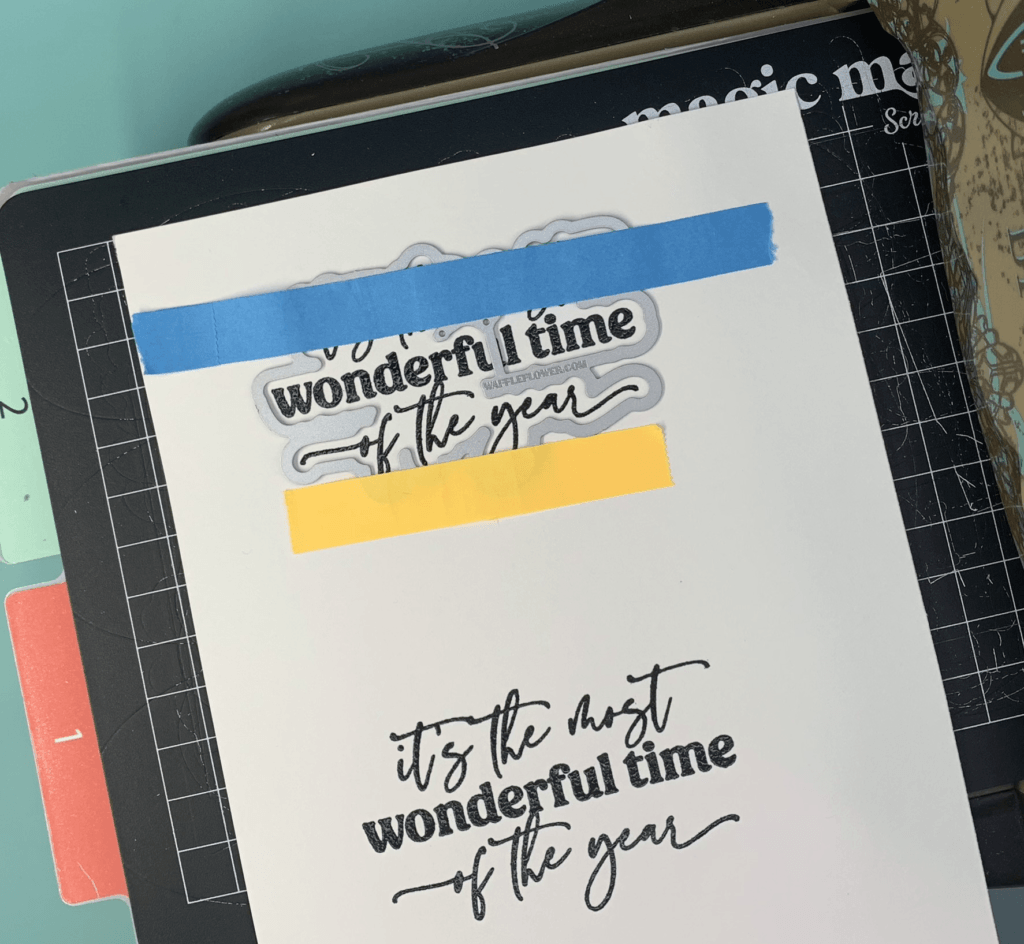
Next it’s time to die cut the sentiment with a die cut frame. Usually I will use a sticky note or washi tape to keep the paper and die in place while it’s going through the cutting machine, which is shown in the picture below.
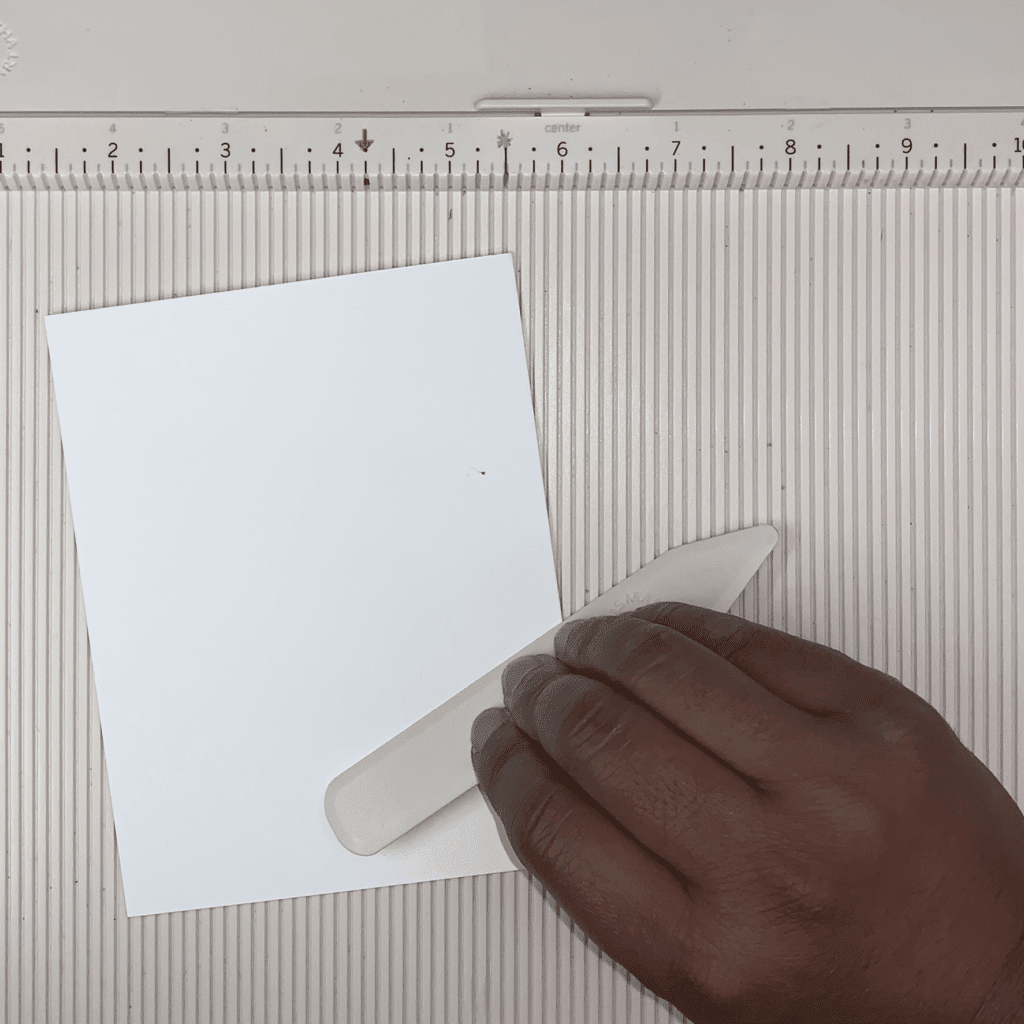
The next step is to create the card bases. I take a sheet of white cardstock and insert it into my paper trimmer so that the longest side goes left to right (landscape mode vs. portrait). I then trim the paper at 5.5″. After doing that, I score the card with my scoring board and bone folder so that the card base has a seamless fold at it’s center.
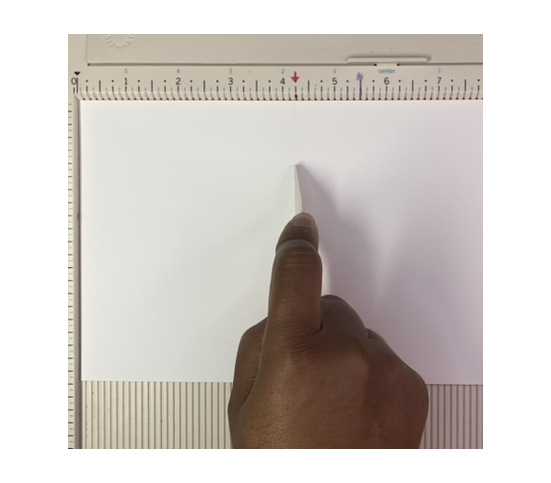
Then I fold the two parts of the card together and run the bone folder down the folded edge to flatten it.
Assemble the Final Cards
Now that all of the card pieces have been created, it’s finally time to put the cards together. Below is a picture of all of the card parts prior to assembly.
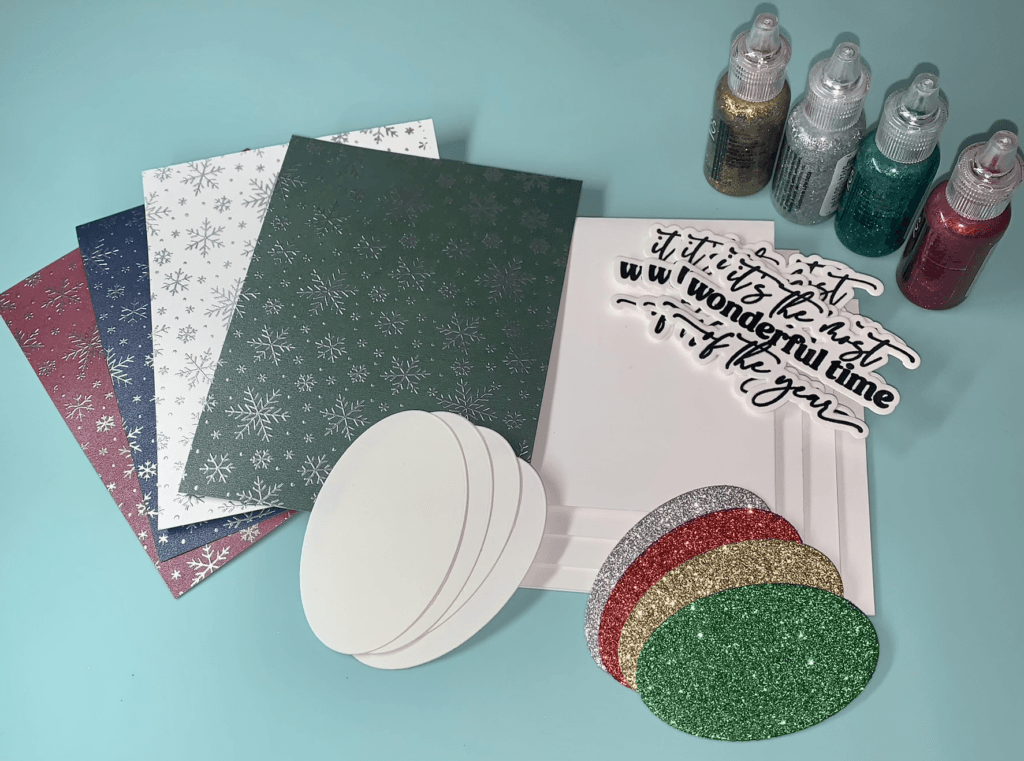
First, I glued all of the glitter ovals onto the white ovals.
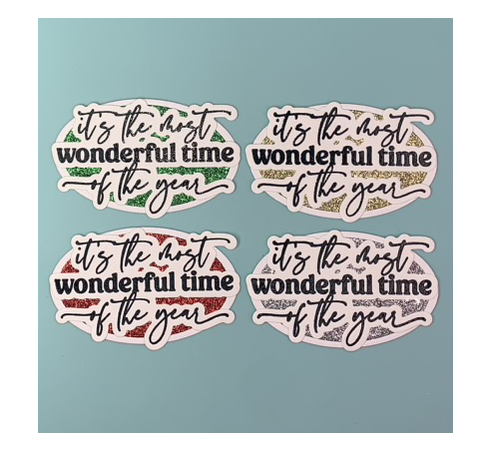
After doing that, I glued the sentiments onto the layered ovals. The finished sentiments are shown in the picture below.
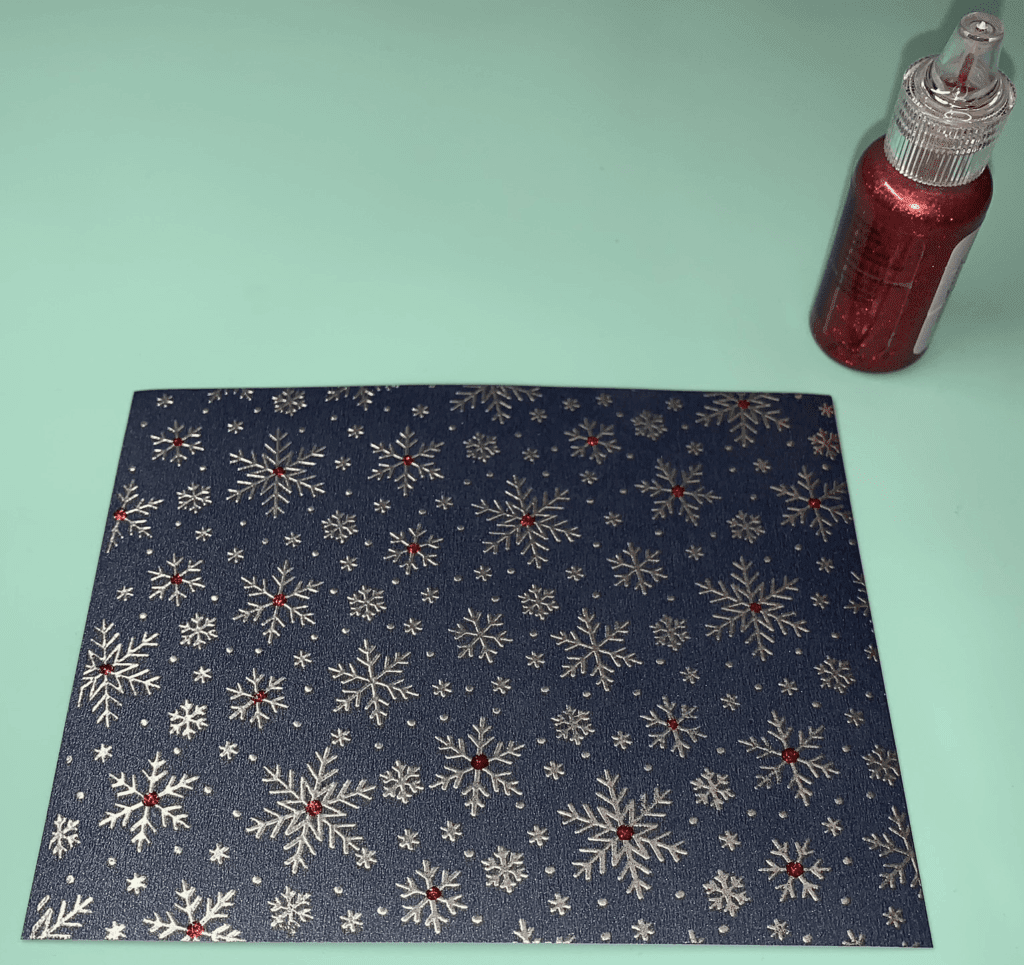
Next I added glitter glue in the center of the snowflakes around the perimeter of the cards.
Then I glued the sentiments to the snowflake background card pieces.
The final detail is to glue the snowflake card pieces to the white card bases. That’s it, you’re done! Below is a picture of the completed set of 4 cards.
Conclusion
Thanks very much for joining me as I showed you how to make a set of Homemade Snowflake Christmas Cards. I had fun and I hope you did as well. Hopefully making these cards will help you to be ahead of the game when the Holiday season comes around. Have a great day!
Supplies Used
Honey Bee Stamps Vintage Holiday Collection Falling Snow Background Stamp
Waffle Flower Wonderful Christmas Stamp & Die Set
WOW! Embossing Powder – Silver
Bira Craft A5 Stampingpro Stamping Platform
Misti Stamping Platform
Neenah Classic Crest Cardstock – Solar White, 110 pound weight
Gartful Shimmer Cardstock Paper 120 Sheet, Pearlescent Card Stock 8.5×11 inch – 20 Assorted Color – 90lb-250gsm, Craft, Scrapbook, Party Decor, Cover, Gift Wrapping, Wedding Invitation, Birthday Card
Misti Stamping Platform
Recollections Glitter Cardstock
Stampendous Anti-Static Pouch
Tsukineko Versamark Ink Pad
Recollections Stamp Cleaner
The Paper Studio Embossing Heat Tool
Tim Holtz Paper Trimmer
Nellie’s Choice Nesting Ovals
Recollections Clear Embossing Powder
TsukinekoVersafine Black Pigment Ink
Ranger Stickles
Tombow MONO Multi Liquid Glue, 0.88 Ounce
Vintaj Big Kick Die Cutting/Embossing Machine
